
To fix Wi-Fi dead zones with mesh networks, start by placing your main router in a central, elevated spot with a clear line of sight. Position satellite nodes within good range of each other and avoid thick walls or interference sources like metal objects and electronics. Use signal strength tools to identify weak spots and fine-tune your setup. Keep learning the best placement tricks to maximize coverage and enjoy a seamless Wi-Fi experience.
Key Takeaways
- Place the main mesh router centrally in open, elevated areas for optimal coverage.
- Position mesh nodes within good range of the router and each other, avoiding thick walls and obstructions.
- Use signal strength apps to identify weak spots and guide placement of nodes accordingly.
- Keep mesh nodes slightly apart to prevent interference, ensuring seamless communication.
- Re-test after adjustments to confirm dead zones are eliminated and coverage is improved.

TP-Link Deco X55 AX3000 WiFi 6 Mesh System – Covers up to 6500 Sq.Ft, Replaces Wireless Router and Extender, 3 Gigabit Ports per Unit, Supports Ethernet Backhaul, Deco X55(3-Pack)
Wi-Fi 6 Mesh Wi-Fi – Next-gen Wi-Fi 6 AX3000 whole home mesh system to eliminate weak Wi-Fi for…
As an affiliate, we earn on qualifying purchases.
As an affiliate, we earn on qualifying purchases.
Why Wi‑Fi Dead Zones Happen and How Mesh Networks Fix Them

Wi-Fi dead zones occur when your wireless signal can’t reach certain areas of your home or office, often due to physical obstructions or distance from the router. Wireless interference from other electronic devices, like microwaves or cordless phones, can weaken your signal further, creating dead zones. Additionally, device compatibility issues may prevent some devices from connecting smoothly or maintaining a strong connection, especially if they support outdated Wi-Fi standards. Mesh networks address these problems by using multiple nodes that communicate with each other, ensuring better coverage throughout your space. They help bypass physical barriers and reduce interference by choosing ideal channels and frequencies. Understanding Wireless interference can help optimize your network setup for better performance. Using a proper placement strategy for your mesh nodes is essential to maximize coverage and eliminate dead zones. Proper node placement can significantly improve overall network stability and performance, ensuring your Wi-Fi remains stable and strong, eliminating dead zones and providing seamless connectivity everywhere. Additionally, adjusting channel settings can further minimize interference and improve network reliability.

TP-Link AC1200 WiFi Extender – 1.2Gbps Home Signal Booster, Dual Band 5GHz/2.4GHz, Up to 1600 Sq.ft and 32 Devices, EasyMesh Compatible, One Ethernet Port (RE315)
𝐒𝐭𝐫𝐨𝐧𝐠𝐞𝐫 𝐖𝐢-𝐅𝐢 𝐢𝐧 𝐄𝐯𝐞𝐫𝐲 𝐂𝐨𝐫𝐧𝐞𝐫 – Enjoy extended coverage with strong performance powered by Adaptive Path Selection and…
As an affiliate, we earn on qualifying purchases.
As an affiliate, we earn on qualifying purchases.
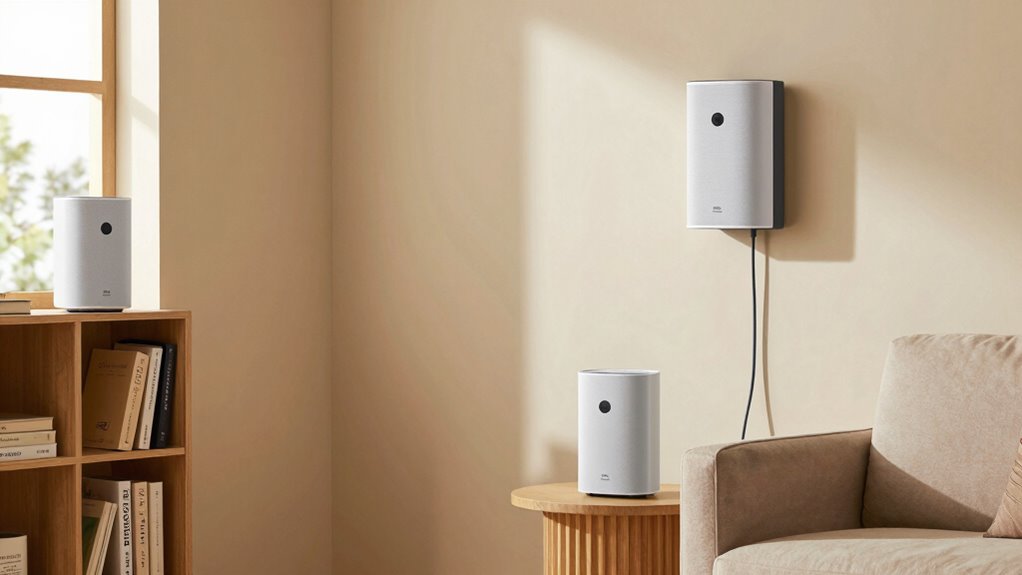
Choosing the Best Spot for Your Mesh Router and Satellites

To guarantee your mesh network provides peak coverage, choosing the right location for your router and satellites is essential. Proper router placement ensures signals reach all areas without interference. Place your main router in a central, open spot, away from thick walls or electronics that can cause interference. When positioning satellites, keep them within a good range of the router and each other, avoiding obstructions. Pay attention to device orientation; antennas should be directed for best signal spread—usually vertically or aligned with your floor plan. Avoid placing devices behind furniture or inside cabinets, as this weakens signals. Clear line-of-sight and strategic placement maximize coverage, reduce dead zones, and improve overall network performance. Additionally, understanding Wi-Fi interference sources can help you position your devices more effectively to minimize signal disruption. Being aware of signal interference, which can originate from various household electronics, can further enhance your network stability. Furthermore, considering sound waves and their impact on electronic devices can contribute to more optimal placement strategies, especially in environments where sound-based technologies are used. Incorporating household electronics awareness into your setup can help reduce electromagnetic interference that may affect Wi-Fi signals. Being mindful of placement best practices can also lead to more consistent connectivity throughout your space.

NETGEAR Orbi 370 Series (RBE370) Dual-Band WiFi 7 Mesh Network Add-on Satellite – Works with RBE372, RBE373, RBE374, Security Features, 5 Gbps, Adds Coverage up to 2,000 sq. ft., BE5000
Expanding your Orbi system is as easy as the push of a button. Compatible with RBE372, RBE373 and…
As an affiliate, we earn on qualifying purchases.
As an affiliate, we earn on qualifying purchases.
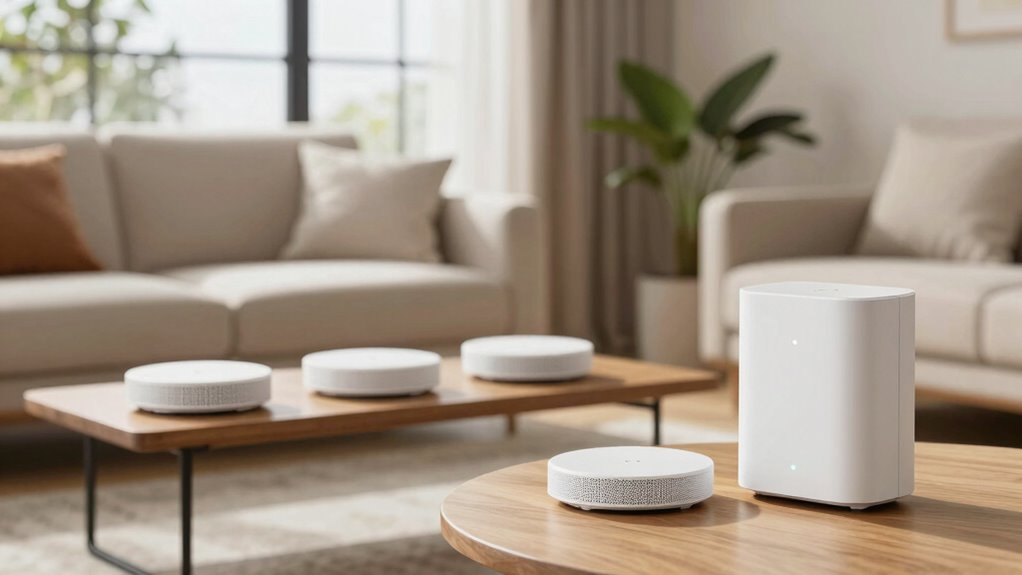
How to Properly Position Mesh Devices for Maximum Coverage
Positioning your mesh devices correctly is key to maximizing coverage and eliminating dead zones. Place your main router centrally, ensuring it’s unobstructed for ideal device compatibility. Satellites should be spaced evenly, ideally halfway between the router and areas needing coverage. Keep aesthetics in mind; choose locations that blend with your mesh aesthetics without sacrificing performance. Avoid placing devices near thick walls, metal objects, or electronics that can interfere with signals. Use the table below to visualize ideal placements and common pitfalls:
| Ideal Placement | Common Mistakes |
|---|---|
| Central, open areas | Behind furniture or walls |
| Elevated positions | Near microwaves or cordless phones |
| Well-ventilated spots | Close to metal appliances |
| Consistent spacing | Cluttered corners |
| Compatible with device signals | Obstructed by large objects |
Additionally, understanding signal interference can help you choose the best locations for your mesh devices. Proper placement also involves considering interference sources, which can disrupt signal quality and coverage.
TP-Link AC1200 WiFi Extender – 1.2Gbps Home Signal Booster, Dual Band 5GHz/2.4GHz, Up to 1600 Sq.ft and 32 Devices, EasyMesh Compatible, One Ethernet Port (RE315)
𝐒𝐭𝐫𝐨𝐧𝐠𝐞𝐫 𝐖𝐢-𝐅𝐢 𝐢𝐧 𝐄𝐯𝐞𝐫𝐲 𝐂𝐨𝐫𝐧𝐞𝐫 – Enjoy extended coverage with strong performance powered by Adaptive Path Selection and…
As an affiliate, we earn on qualifying purchases.
As an affiliate, we earn on qualifying purchases.
Avoid These Common Mesh Placement Mistakes
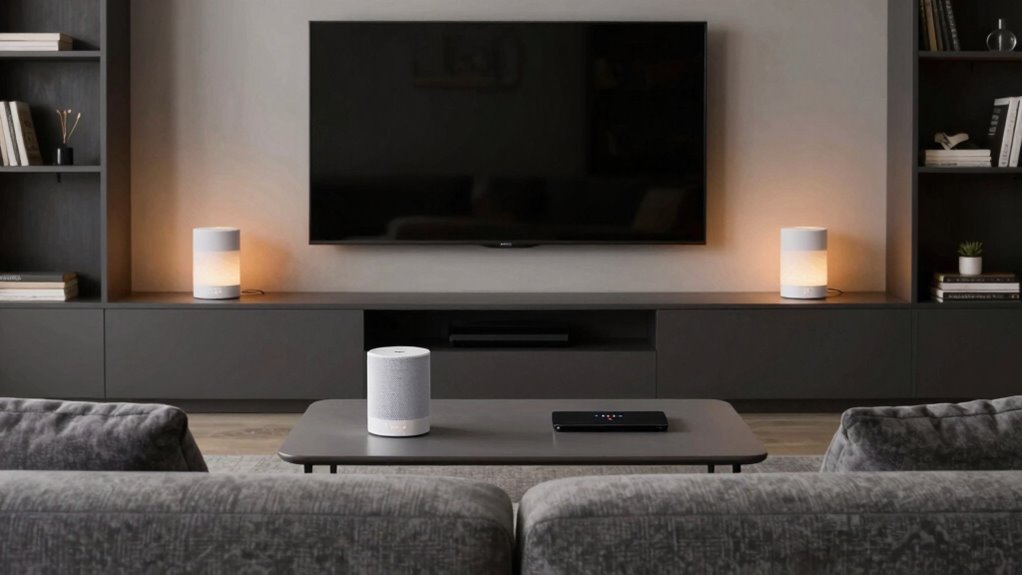
Avoiding common mesh placement mistakes is essential for ensuring reliable coverage throughout your home. One mistake is placing mesh devices too far apart, which creates dead zones and weak signals. Conversely, crowding them can cause interference. Avoid neglecting mesh security; always change default passwords and enable encryption to protect your network. Additionally, forgetting to update firmware can lead to security vulnerabilities and performance issues. Regular firmware updates ensure your mesh system runs smoothly and stays protected against threats. Proper placement techniques are crucial for maximizing coverage and avoiding dead zones. Furthermore, device positioning plays a significant role in signal strength and network reliability. To optimize your setup, consider signal propagation principles to ensure optimal device placement. Understanding network architecture can help you design a more effective mesh network. Being mindful of interference sources can also enhance overall performance. By avoiding these common mistakes, you maximize your mesh system’s effectiveness and enjoy seamless coverage.
How to Test Your Wi‑Fi Signal and Optimize Placement

Testing your Wi-Fi signal is a key step in ensuring your mesh system provides reliable coverage. Use a Wi-Fi analyzer app or a speed test tool to identify weak spots and dead zones. Walk around your home with your device, noting signal strength in different areas. Pay special attention to spaces where you experience slow speeds or dropped connections. Once you gather data, adjust your device placement accordingly—position mesh nodes higher off the ground and away from obstructions. Re-test after each adjustment to confirm improvements. Consistent signal testing helps you pinpoint ideal locations, boosting overall coverage. Additionally, understanding Wi-Fi signal strength can help you make more informed placement decisions for optimal coverage. Incorporating environmental factors such as temperature effects on signals can also aid in understanding how environmental factors influence your Wi-Fi performance. Recognizing how interference sources like household electronics impact your Wi-Fi can further optimize placement strategies.
Using Extra Mesh Nodes or Extenders to Cover Dead Zones
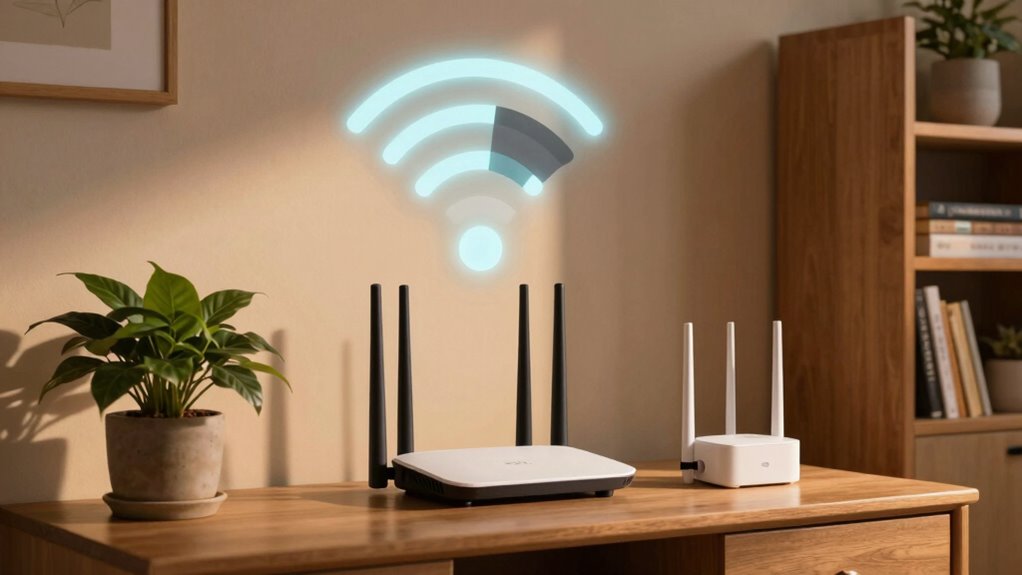
To effectively cover Wi-Fi dead zones, you need to ensure ideal node placement so signals reach all areas. Choosing between extenders and mesh systems depends on your home’s layout and coverage needs, and managing signal interference ensures reliable performance. By understanding these points, you can improve your network and eliminate dead spots efficiently. Additionally, understanding Wi-Fi signal interference can help optimize your setup for better coverage. Proper network security measures can also prevent unauthorized access that might degrade your Wi-Fi performance. Ensuring optimal mesh node placement can further enhance coverage and reduce dead zones.
Optimal Node Placement Strategies
Strategically placing extra mesh nodes or extenders is essential for eliminating Wi-Fi dead zones effectively. Start by optimizing router placement, positioning your main router in a central, elevated location to maximize coverage. When adding nodes or extenders, place them where signals are strong but still reach the dead zones without causing signal interference. Avoid placing devices near thick walls, metal objects, or other electronics that could disrupt signal quality. Use your router’s signal strength indicators or apps to identify weak spots and position nodes accordingly. Keep nodes slightly apart to ensure they don’t interfere with each other’s signals, but close enough to create a seamless network. Proper placement boosts coverage, minimizes dead zones, and maintains reliable connectivity throughout your space.
Choosing Between Extenders and Mesh
When choosing how to extend your Wi-Fi coverage, you’ll need to decide between using Wi-Fi extenders or adding more mesh nodes. Extenders can boost signal to specific dead zones but often create additional points of signal interference, which can degrade overall performance. Mesh nodes, on the other hand, are designed to work seamlessly with your router, maintaining consistent communication and better managing router placement. If your dead zones are far from your main router, adding mesh nodes usually provides a more reliable, unified network. Extenders may be simpler to set up initially, but they can introduce signal interference if not placed thoughtfully. Consider your space and existing router placement to determine which option will deliver stronger, more stable coverage without sacrificing speed.
Managing Signal Interference
Managing signal interference is essential when extending your Wi-Fi network with additional mesh nodes or extenders, as poorly placed devices can create more dead zones or slow down your connection. Interference sources like neighboring Wi-Fi networks, Bluetooth devices, and household electronics can disrupt your signal. To minimize these issues, focus on channel management by selecting less congested channels for your devices. Many modern routers and extenders automatically adjust channels, but manual optimization can yield better results. Keep your mesh nodes and extenders away from thick walls, microwaves, and cordless phones, which are common interference sources. Proper placement and channel management ensure your extended network maintains strong, reliable coverage without competing signals, helping eliminate dead zones and improve overall Wi-Fi performance.
Using Signal Strength and Speed Tests to Improve Wi‑Fi Coverage
To effectively improve your Wi-Fi coverage, you need to identify weak spots across your space, and using signal strength and speed tests is a practical way to do this. These tests reveal where your signal is strongest and where it drops off, guiding your placement of mesh nodes. Pay attention to wireless standards, as newer ones like Wi-Fi 6 offer better performance and coverage. Conduct tests in different areas at various times to get accurate readings. Keep network security in mind; secure your network to prevent outsiders from skewing test results or causing interference. Regular testing helps you spot persistent issues and adjust your mesh nodes accordingly, ensuring a more reliable and extensive Wi-Fi experience throughout your home or office.
Troubleshooting Persistent Dead Zones and Fine-Tuning Your Mesh Setup
Persistent dead zones can be frustrating, but they often result from specific obstacles or interference that disrupt your Wi-Fi signal. To troubleshoot, start by evaluating your mesh setup. Adjust the placement of your nodes, considering walls or appliances that may interfere. Use mesh customization options to optimize coverage and ensure device compatibility across all your connected devices. Fine-tuning involves testing different locations and monitoring performance. Here’s a quick guide:
| Obstacle/Interference | Solution |
|---|---|
| Thick walls | Move nodes closer or add extenders |
| Electronic devices | Reposition away from interference sources |
| Large distances | Add more mesh nodes |
| Device incompatibility | Update firmware or replace devices |
| Signal overlap | Adjust channels or frequencies |
This approach helps eliminate dead zones and stabilizes your Wi-Fi network.
Frequently Asked Questions
Can Furniture Placement Affect Wi-Fi Coverage in My Home?
Yes, furniture placement can affect your Wi-Fi coverage. Arranging furniture aesthetics and decorative accessories might block signals, creating dead zones. Keep your router elevated and away from bulky furniture or metal objects that can interfere. Moving pieces that obstruct the signal path can improve coverage. So, consider your decor and furniture placement carefully to guarantee a strong, consistent Wi-Fi connection throughout your home.
Do Wall Materials Influence Mesh Wi-Fi Signal Strength?
Yes, wall materials influence mesh Wi-Fi signal strength through signal attenuation. Thick walls like concrete or brick weaken signals more than drywall, reducing coverage. To optimize, consider router placement in central locations and avoid placing mesh nodes behind dense walls. Using lighter materials or adding additional nodes can help maintain strong connections, ensuring your mesh network works effectively across your entire home.
How Does Device Placement Impact Wi-Fi Speed Consistency?
Did you know that poor device positioning can reduce Wi-Fi speeds by up to 50%? You should place your devices in open, central locations to minimize signal interference and guarantee consistent speeds. Keep devices away from thick walls and electronic clutter, and avoid placing them near metal objects. Proper device placement enhances signal strength and stability, giving you faster, more reliable Wi-Fi throughout your space.
Are There Specific Times When Wi-Fi Dead Zones Are Worse?
Yes, Wi-Fi dead zones tend to worsen during peak usage times, like evenings or weekends, when interference sources like neighboring networks and electronic devices increase. Weather conditions, such as rain or storms, can also weaken signals, making dead zones more pronounced. To diminish this, guarantee your mesh nodes are ideally positioned, away from interference sources, and consider weather patterns that might impact your connection.
Can Network Congestion Cause Wi-Fi Dead Zones?
Yes, network congestion can cause Wi-Fi dead zones. When there’s network overload, your router struggles to handle multiple devices, leading to slower speeds or dropped signals. Signal interference from other electronics or neighboring networks also worsens dead zones. To improve, reduce device load during peak times and minimize interference sources. Proper mesh placement can help guarantee your network distributes bandwidth evenly, preventing dead zones caused by congestion or interference.
Conclusion
To truly eliminate Wi-Fi dead zones, proper mesh placement is key. For example, placing a satellite closer to a dead spot can markedly boost coverage. Don’t forget to test your signal regularly and adjust as needed. With careful positioning and some trial and error, you can enjoy seamless Wi-Fi throughout your home. Remember, small tweaks often make the biggest difference in achieving reliable, fast internet everywhere you need it.