
To prevent hollow sounds in your home studio, you need to balance proper room treatment with strategic microphone placement. Hard surfaces reflect sound, causing echoes and muddiness, so adding acoustic panels, bass traps, and diffusers helps absorb and diffuse reflections. Positioning your microphone 6-12 inches from the sound source at the right angle also minimizes room-induced coloration. When you combine these techniques, your recordings will sound fuller, more natural, and professional. Keep exploring for more tips to perfect your setup.
Key Takeaways
- Proper room treatment absorbs reflections, preventing echoes that cause hollow or metallic sounds.
- Microphone placement close to the source reduces capturing unwanted room reflections.
- Using acoustic panels and bass traps creates a balanced, natural sound environment.
- Avoiding reflective surfaces behind or around the microphone minimizes hollow effects.
- Combining effective room treatment with strategic mic positioning ensures full, clear recordings.
Have you ever wondered what the most important rule is for achieving professional-quality sound in your home studio? The truth is, it all comes down to proper room treatment and microphone placement. These two elements are your best defense against that hollow, lifeless sound that can ruin even the most promising recordings. When you focus on managing your room’s acoustics and positioning your microphone correctly, you set a solid foundation for clear, balanced audio.
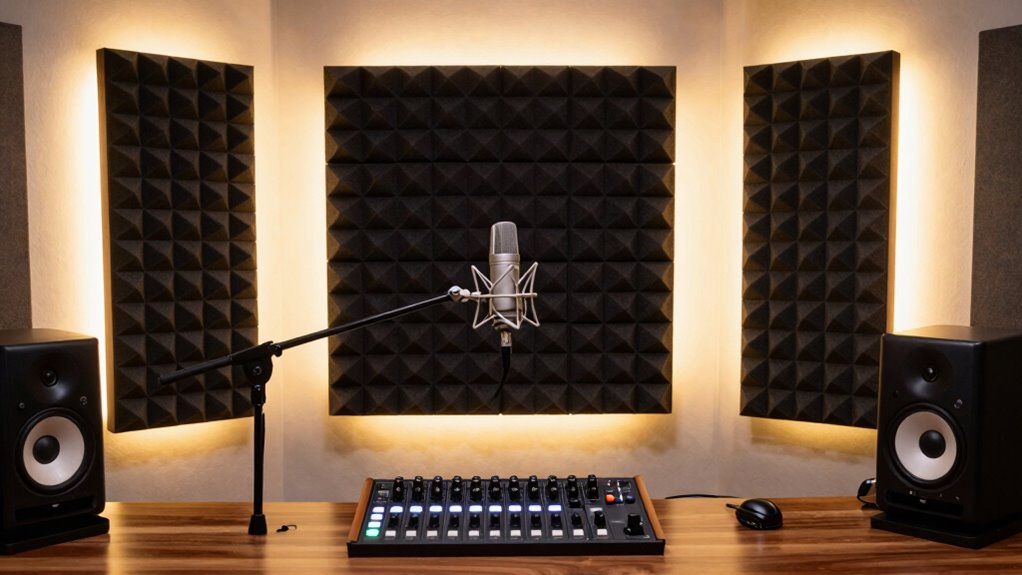
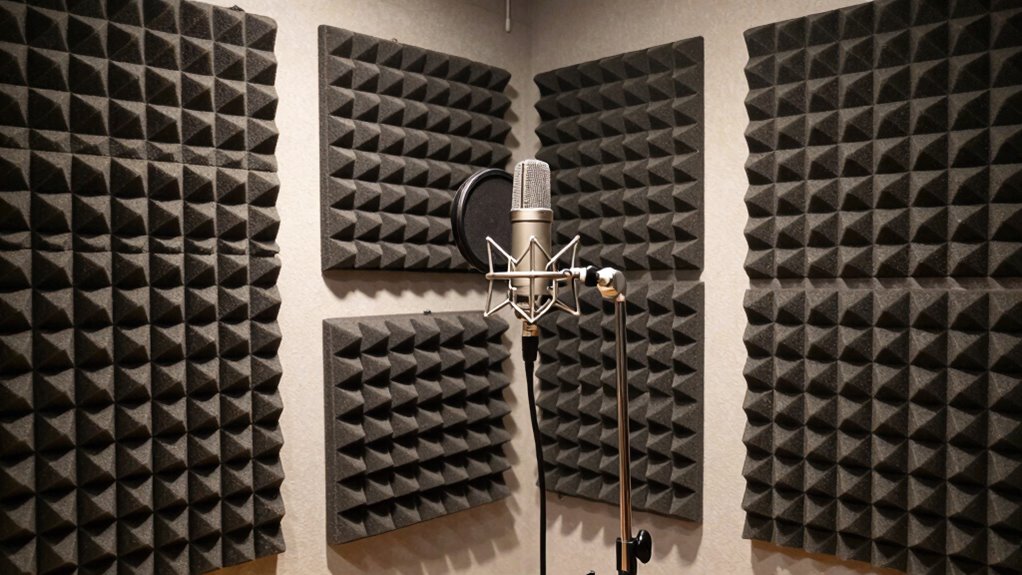
Room treatment is essential because your studio space isn’t naturally ideal for sound. Hard surfaces like glass, concrete, or bare walls reflect sound waves, creating unwanted echoes and muddiness. To prevent this, you need to treat your room with materials that absorb or diffuse sound. Acoustic panels, bass traps, and diffusers work together to tame reflections and standing waves, giving you a more accurate listening environment. When your room is properly treated, you’ll notice that recordings sound fuller and more natural, without the hollow or metallic qualities that come from overly reflective spaces.
Once your room is better controlled, microphone placement becomes your next focus. Even the best microphone can’t compensate for poor positioning. You need to be intentional about where you place your microphone relative to your sound source. For vocals and instruments, position your mic at an ideal distance—usually around six to twelve inches—while avoiding proximity effects that can cause boomy sounds or unwanted plosives. Use a pop filter to further refine the sound and keep your recordings clean. Experiment with angles and heights to find the optimal placement that captures the warmth and detail of your performance without picking up excessive room reflections. Additionally, understanding room acoustics and how sound behaves within your space can significantly improve your microphone placement decisions. Paying attention to the acoustic environment, including the room’s size and surface materials, will help you make more informed choices.
Combining good room treatment with strategic microphone placement creates a synergy that prevents that hollow sound from creeping into your recordings. When your environment is acoustically balanced, and your microphone is correctly positioned, you gain greater control over your sound. This means you can hear the nuances of your performance more accurately, allowing you to make precise adjustments and achieve a professional-quality mix. Remember, understanding sound behavior and how sound interacts within your space is key to optimizing your setup.
In the end, it’s about understanding that your room and your microphone are part of your sound’s foundation. Take the time to treat your space and experiment with placement. These simple steps will drastically improve your recordings, ensuring your music sounds full, clear, and engaging—without that hollow, distant quality that can undermine your efforts. The home studio audio rule that prevents hollow sound is straightforward: prioritize room treatment and smart microphone placement.

24 Pack Black 12 x 12 x 2 Inches Pyramid Designed Acoustic Foam Panels, Sound Proof Foam Panels for Walls, High Density and Flame-Retardant Acoustic Panels, Sound Panels for Recording and Home Studio
Exceptional Sound Absorption:These pyramid acoustic panels are engineered to effectively absorb sound waves, reducing echo and reverberation. With…
As an affiliate, we earn on qualifying purchases.
As an affiliate, we earn on qualifying purchases.
Frequently Asked Questions
How Do I Identify if My Recordings Sound Hollow?
To identify if your recordings sound hollow, listen for a thin or distant quality, especially in vocals or instruments. You might notice excessive audio masking, where certain frequencies clash, creating a muddy or empty sound. Check your frequency balancing—if the midrange feels weak or overly bright, it can cause hollow tones. Use EQ to adjust and guarantee each element has its space, preventing your mix from sounding hollow or lifeless.
What Are Common Causes of Hollow Sound in Home Studios?
Hollow sound in your recordings often results from poor acoustic treatment and improper speaker placement. When your room lacks proper acoustic treatment, sound waves bounce unpredictably, creating echo and hollow effects. Similarly, if your speakers aren’t correctly positioned—away from walls or at ear level—you’ll miss accurate sound cues. Adjusting your acoustic environment and optimizing speaker placement helps reduce hollowness, resulting in clearer, more professional recordings.
Can Room Shape Affect Audio Quality?
Think of your room shape as the frame holding a picture—its dimensions influence how sound reflects. If your room has odd angles or uneven surfaces, sound reflection becomes unpredictable, leading to echo and hollow effects. Rectangular or symmetrical dimensions help control reflections, creating a balanced sound. So, shaping your space thoughtfully guarantees your audio remains clear, warm, and professional, avoiding those pesky hollow sounds.
Are There Specific Materials That Improve Sound Clarity?
You can improve sound clarity by using materials like acoustic panels, which absorb excess sound and reduce echo, and soundproof curtains that block outside noise. Acoustic panels are especially effective when placed on walls to manage reflections and create a cleaner sound. Soundproof curtains help minimize background noise, ensuring your recordings are clearer. Combining both materials helps you achieve a balanced, professional sound in your home studio.
How Often Should I Check My Studio’s Acoustics?
You should check your studio’s acoustics at least once every few months, especially after making significant changes or noticing sound issues. Regularly review your acoustic treatment to guarantee it’s still effective, and perform monitoring calibration to maintain accurate sound reproduction. This proactive approach helps prevent hollow sounds, ensuring your recordings stay clear and professional. Consistent checks keep your workspace optimized for the best audio quality.

8 Pack – Bass Traps Acoustic Foam Corner, 8''x8''x12'' Black Bass Traps Corner Studio Foam, High Density and Fire-Proof Acoustic Panels Recording Studio Acoustical Treatments
Acoustic Principle- Bass Trap is a kind of sound absorbing structure specially used to absorb specific low-frequency standing…
As an affiliate, we earn on qualifying purchases.
As an affiliate, we earn on qualifying purchases.
Conclusion
Remember, applying this simple home studio audio rule can transform your recordings from hollow to professional-sounding. You might think it’s too complicated or time-consuming, but trust me, the payoff is worth it. Imagine finally capturing that rich, full sound you’ve been craving—your music, podcast, or voiceover will resonate with clarity and depth. Don’t let fear hold you back; take this small step today and hear the difference it makes. Your audience will thank you.

Aokeo Professional Microphone Pop Filter Mask Shield For Blue Yeti and Any Other Microphone,Mic Dual Layered Wind Pop Screen With Flexible 360° Gooseneck Clip Stabilizing Arm
Double Layered Screen Pop Filters:The first screen blocks air blasts as any pop filter normally would; The gap…
As an affiliate, we earn on qualifying purchases.
As an affiliate, we earn on qualifying purchases.
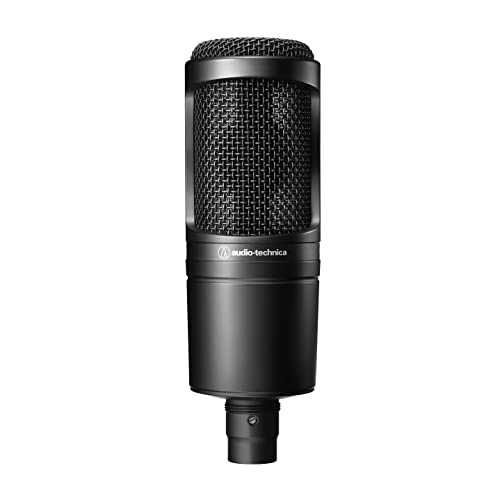
Audio-Technica AT2020 Cardioid Condenser Studio XLR Microphone, Ideal for Project/Home Studio Applications, Black
The price/performance standard in side address studio condenser microphone technology
As an affiliate, we earn on qualifying purchases.
As an affiliate, we earn on qualifying purchases.