
To fix audio sync issues in multi-camera shoots, start by checking microphone placement and making sure all equipment is properly calibrated. Use external recorders and timecode synchronization tools for better accuracy. Recognize out-of-sync signs like lip movements not matching speech or gestures lagging. For quick fixes, you can manually align audio and video in post-production or use software with automatic sync features. Keep exploring tips to prevent future problems and ensure seamless audio-video harmony.
Key Takeaways
- Use a reliable timecode generator to synchronize all cameras and audio devices from the start.
- Capture a distinct sync cue, like a clap or snap, at the beginning of each shoot for easy post-production alignment.
- Monitor audio levels and microphone placement to prevent delays caused by equipment or interference.
- Utilize editing software with automatic audio-video sync features, such as PluralEyes or Premiere Pro, for quick corrections.
- Conduct pre-shoot tests to identify and fix potential sync issues before recording begins.
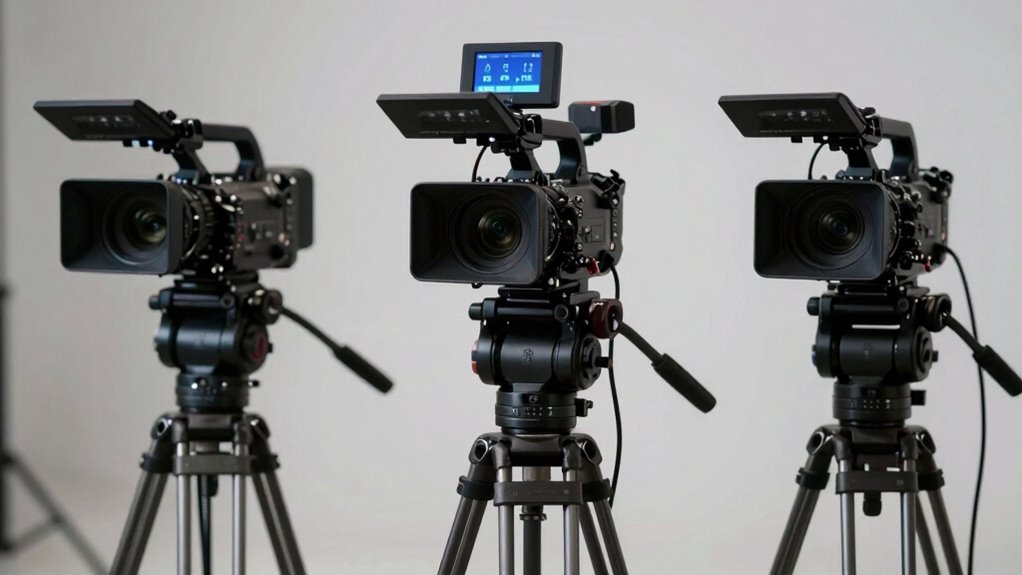
What Causes Audio to Fall Out of Sync During Multi-Camera Shoots?

During multi-camera shoots, audio can fall out of sync for several reasons, often stemming from equipment and technical issues. One common cause is improper microphone placement, which can lead to delays or inconsistencies in sound capture. If microphones aren’t positioned correctly, audio signals may arrive at different times, creating a noticeable mismatch with video. Additionally, poor audio processing can introduce latency or timing errors, especially if your audio equipment or software isn’t optimized. These issues can cause audio to drift out of sync over time. Understanding how microphone placement affects timing and ensuring your audio processing is set up correctly are vital steps in preventing sync problems. Proper audio calibration and addressing these factors early helps maintain tight synchronization between audio and video throughout your shoot. Furthermore, using timecode synchronization tools can help keep all cameras and audio devices in sync from start to finish.
How to Prepare Your Equipment to Prevent Sync Problems
To prevent sync problems, start by checking that your microphones are compatible with your recording equipment. Using an external audio recorder can help capture cleaner sound and make syncing easier later. Before shooting, synchronize your device clocks to guarantee all recordings stay in perfect sync from the start. Additionally, employing a timecode synchronization system can further streamline the editing process and ensure precise audio-video alignment. Remember to also verify that your audio levels are properly calibrated to avoid discrepancies during post-production. Regularly inspecting your equipment for compatibility issues can also help maintain consistent performance throughout your shoot. Moreover, staying aware of spiritual awakening cues such as subtle signs or intuitive insights can help you stay focused and adaptable during complex multi-camera setups.
Check Microphone Compatibility
Ensuring your microphone is compatible with your recording setup is essential to prevent sync issues. Check that your microphone supports your camera’s input type and meets your audio quality needs. Microphone compatibility also involves verifying power requirements and connection standards. Wireless microphones can be convenient but are vulnerable to wireless interference, which can cause audio dropouts and timing discrepancies. To avoid this, test your microphone in the shoot environment beforehand, ensuring it functions consistently without interference. Confirm that your equipment’s specifications align with each other, reducing the risk of lag or disconnection during recording. Proper Microphone compatibility checks are a key component of Gold IRA markets and help you maintain clean, synchronized audio, avoiding the hassle of fixing sync problems later. Additionally, understanding audio input standards can help you select the right equipment from the start. When selecting microphones, pay attention to compatibility with camera systems to prevent unexpected issues during your shoot. Taking these steps helps you maintain clean, synchronized audio, avoiding the hassle of fixing sync problems later. Proper compatibility checks set the foundation for smooth multi-camera shoots.
Use External Audio Recorder
Using an external audio recorder can considerably improve your chances of capturing high-quality, synchronized sound. When working with wireless microphones, an external recorder allows you to monitor and control audio levels directly, reducing the risk of distortion or dropouts. Before shooting, set your audio levels on the recorder to match the microphone’s output, ensuring clear sound without clipping. Using an external device also minimizes interference from camera noise, providing cleaner audio. Wireless microphones often have variable signal strengths, so recording externally helps you manage and adjust levels on the fly. Additionally, syncing becomes easier during post-production because you have a separate, high-quality audio track that’s less susceptible to camera-related issues. Proper preparation with an external recorder is a simple yet effective way to prevent sync problems.
Synchronize Clocks Before Shooting
Synchronizing the clocks on all your recording devices is a crucial step before shooting to prevent sync issues later. Accurate clock synchronization ensures that each camera and audio recorder operates on the same time reference, making timecode alignment straightforward during editing. Before shooting, set all devices to the same time manually or use a master clock source if available. Many professional cameras and recorders support synchronization through timecode generators, which keep devices perfectly aligned. This consistency helps avoid drift and ensures that your audio and video stay in sync throughout the shoot. By taking these steps to coordinate clocks, you reduce the need for post-production fixes, saving time and ensuring seamless multi-camera footage with synchronized audio.
How Can You Recognize When Your Audio and Video Are Out of Sync?

You’ll notice when your audio and video are out of sync by paying attention to visual clues, like lips moving before you hear the speech. Detecting audio-video delay helps confirm the problem, especially during dialogue or action scenes. Recognizing these signs quickly can save you time in fixing the issue.
Visual Clues Identification
Recognizing when your audio and video are out of sync can be straightforward if you pay attention to specific visual cues. Look for timing discrepancies between mouth movements and speech sounds—when lips move but the sound lags or leads, a clear mismatch occurs. Watch for facial expressions that don’t match the audio, like a smile that appears after the spoken word. Also, observe body language; gestures or movements may seem slightly delayed or advanced compared to the audio. These visual cues help you identify sync issues quickly. Additionally, understanding the concept of Free Floating can aid in troubleshooting synchronization problems, as it emphasizes the importance of stable timing in multi-camera shoots. Noticing these clues ensures you can address the problem early, preventing awkward moments in your footage. By honing your eye for these signs, you simplify the process of maintaining perfect audio-video alignment in multi-camera shoots.
Audio-Video Delay Detection
How can you tell when your audio and video are out of sync? One sign is when lip movements don’t match the spoken words, or you notice a lag between audio cues and their visual counterparts. Wireless interference can cause delays, making audio fall behind or jump ahead of the video. Check your microphone placement—if your mic is too far from the subject or near electronic devices, it can introduce latency that disrupts sync. You might also notice that sounds seem disconnected or out of step during playback. To detect delays quickly, listen carefully for mismatched cues and observe the timing of actions versus speech. Recognizing these signs helps you identify when your audio and video are out of sync, so you can take steps to fix the issue. Additionally, understanding the role of audio-video delay detection can assist in troubleshooting and ensuring smooth multi-camera shoots. Being aware of latency issues and how they impact your recordings is also crucial for maintaining professional quality. Implementing proper synchronization techniques can further help prevent these problems before they occur. For example, using hardware sync tools can significantly improve timing accuracy and reduce delays. Moreover, regularly testing your setup before recording sessions can help identify potential sync problems early on.
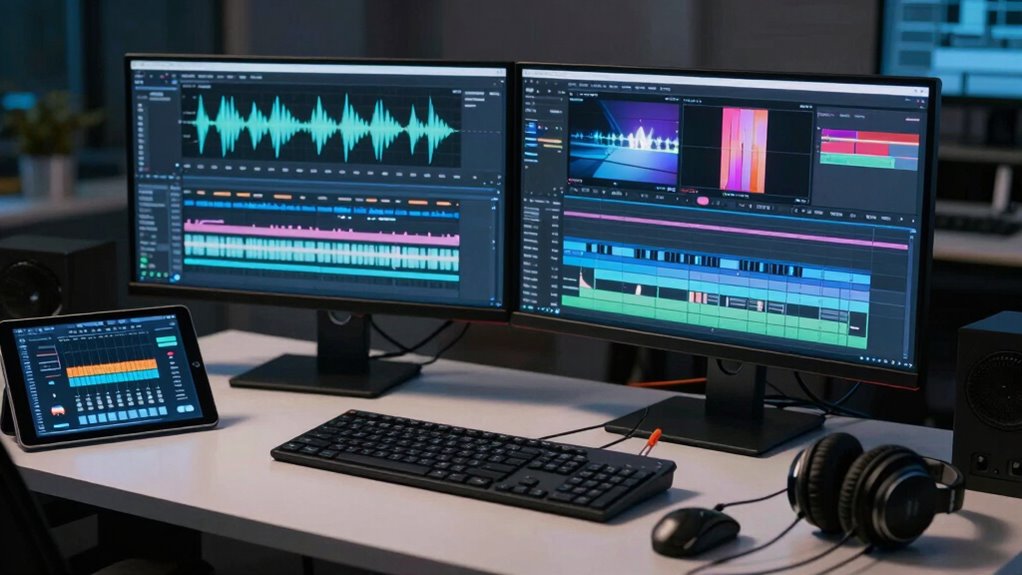
What Are the Best Tools for Fixing Audio Sync Issues?
When it comes to fixing audio sync issues, choosing the right tool can make all the difference. The best options help you quickly identify and correct delays, saving you time during post-production. Here are top tools to contemplate:
- Audio editing software like Adobe Premiere Pro or Final Cut Pro, which offer precise manual adjustments and syncing features.
- Specialized audio sync tools such as PluralEyes, known for automatic synchronization of multi-camera footage.
- Wireless microphones with built-in timestamping or digital transmission, reducing lag at the source and simplifying the syncing process.
- Understanding the importance of measurement accuracy in your gear can help you ensure consistent and reliable audio synchronization, particularly in complex multi-camera setups. Incorporating smart home automation principles can also assist in managing multiple devices and ensuring synchronized operation. Additionally, paying attention to audio signal quality can significantly improve the overall synchronization process. Ensuring consistent equipment calibration across your devices is also crucial for maintaining synchronization integrity over extended shoots. Recognizing the role of digital transmission protocols can further optimize the stability of your audio-video sync, especially in wireless setups. These tools streamline your workflow, especially when working with wireless microphones or multi-camera setups, ensuring your audio aligns seamlessly with your video.
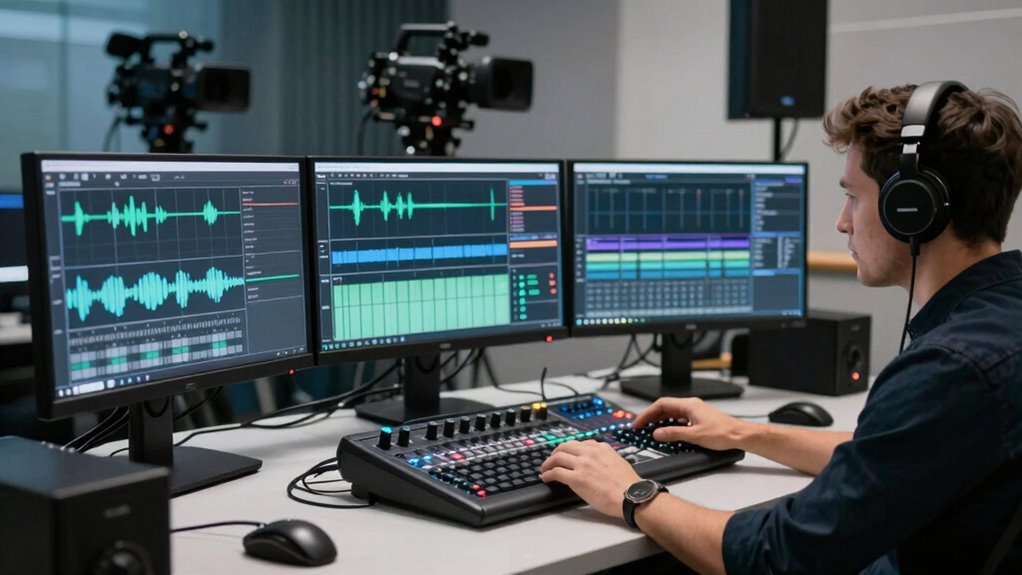
How to Manually Sync Audio and Video in Post-Production
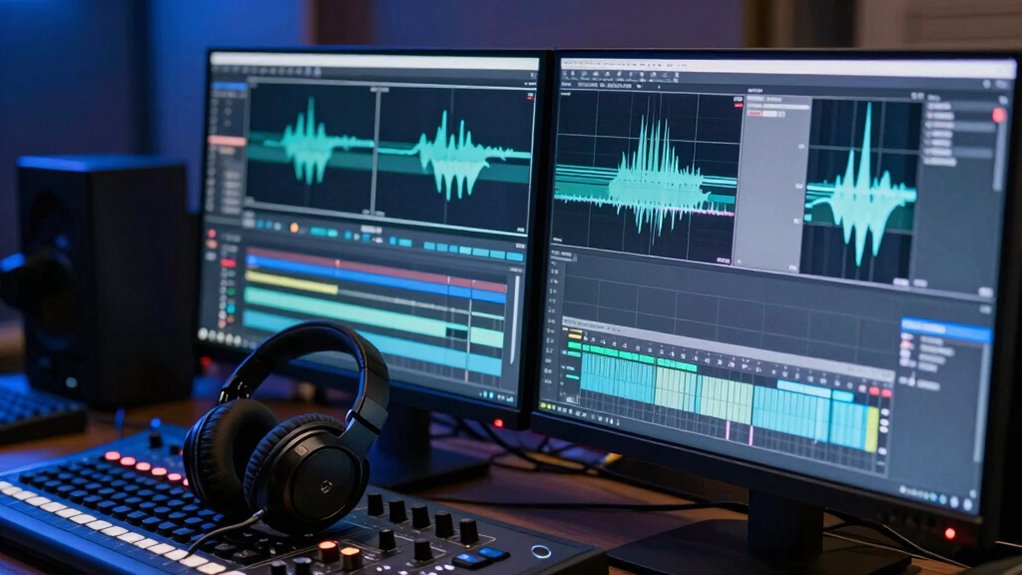
Manually syncing audio and video in post-production involves aligning the two tracks precisely to guarantee seamless playback. Start by examining the audio waveform analysis in your editing software; look for visual cues like spikes or peaks that match specific sounds or claps. If you used timecode synchronization during recording, align the clips to the same timecode marker for accuracy. If not, find a distinct sound, such as a clap or snap, and match it to its visual cue in the waveform. Use the editing timeline to nudge the audio or video clips until they align perfectly. Playback to confirm synchronization, ensuring the audio matches the visual cues exactly. This method provides precise control, especially when automatic syncing fails or isn’t an option.
Tips to Avoid Future Audio Sync Problems
To prevent future audio sync issues, start by planning your recording setup carefully. Proper equipment calibration ensures your cameras and microphones operate in sync from the start, reducing audio delay. Here are three tips to help you avoid problems:
Careful setup and calibration help prevent audio sync issues from the start.
- Regularly calibrate your audio and video equipment to maintain synchronization.
- Use quality cables and adapters to prevent signal delays that cause audio lag.
- Test your setup before recording to identify and fix any audio delay issues early.
Troubleshooting Common Audio Sync Problems and FAQs

Audio sync problems can disrupt your recording quality and frustrate your editing process, but identifying common issues can help you troubleshoot effectively. One frequent cause is microphone placement; if your microphone isn’t close enough or isn’t positioned correctly, it can cause noticeable delays between audio and video. Check that your microphone is securely placed near the sound source. Sometimes, the problem lies in your editing software—you might need to manually align audio tracks or enable automatic sync features. FAQs often include questions about latency and buffer delays, which can be solved by adjusting settings within your editing software. By understanding these common issues, you can quickly resolve sync problems and ensure your multi-camera shoots stay synchronized from start to finish.
Frequently Asked Questions
Can Software Automatically Fix Audio Sync Issues During Editing?
Yes, software automation in editing tools can automatically fix audio sync issues. Many editing programs now include features that analyze and align audio and video tracks, saving you time and effort. By using these tools, you can guarantee your footage stays synchronized without manually adjusting each clip. This makes multi-camera shoots more manageable, letting you focus on the creative aspects while the software handles the technical fixes efficiently.
What Are Common Hardware Causes of Audio Delay?
You often face audio delay caused by hardware issues like poor microphone placement and cable quality. If your microphone isn’t close enough to the sound source, it introduces lag. Low-quality or damaged cables can also cause delays or signal interruptions. To fix this, position your microphone properly and upgrade to high-quality cables. Ensuring secure connections and ideal placement helps reduce latency and improves overall sync during multi-camera shoots.
How Does Camera Frame Rate Affect Audio Sync?
You might find that frame rate discrepancies can lead to subtle audio drift over time, making sync seem slightly off. When cameras shoot at different frame rates, audio and video struggle to stay perfectly aligned, especially during longer recordings. To maintain sync, match your cameras’ frame rates and monitor for any drift. Keeping an eye on these settings helps make certain your audio remains crisp and synchronized throughout your multi-camera shoot.
Are There Best Practices for Multi-Camera Audio Recording?
You should prioritize high-quality audio cables to ensure clear sound and reliable connections across all cameras. Proper microphone placement is vital—place mics close to your subjects and avoid background noise. Test each mic beforehand, and use consistent settings for all recordings. Additionally, keep cables organized to prevent interference, and consider using sync markers during editing to streamline the process. This approach helps you achieve synchronized, professional multi-camera audio.
How Do Different Audio Formats Impact Sync Correction?
Different audio formats impact sync correction because compatibility issues can cause delays or misalignment. You need to guarantee audio format compatibility with your editing software to avoid problems. If formats aren’t compatible, you might need codec conversion to standardize files. Using consistent formats from the start simplifies sync correction, saving you time and effort during editing. Always double-check formats before recording to streamline your multi-camera shoots.
Conclusion
By understanding the causes, preparing your equipment, recognizing the signs, using the right tools, manually syncing when needed, and following best practices, you can keep your audio and video perfectly aligned. Stay attentive, stay proactive, and stay consistent. With these simple steps, you’ll prevent sync issues, improve your workflow, and deliver professional-quality multi-camera shoots every time. Keep practicing, keep troubleshooting, and keep creating seamless, synchronized content.