
To stop fighting shadows in product photography, position your lights carefully—use multiple sources at different angles to achieve even lighting and reduce harsh shadows. Incorporate diffusers and reflectors to soften and fill in shadowed areas, creating a more natural look. Adjust light height, distance, and intensity to enhance product details without unwanted dark spots. With the right setup and techniques, you can achieve professional, shadow-free images that highlight your product’s best features—discover how to perfect your lighting setup now.
Key Takeaways
- Position light sources at optimal angles to minimize harsh shadows and ensure even illumination.
- Use diffusers and softboxes to soften light and reduce unintentional shadow creation.
- Incorporate reflectors to bounce light into shadowed areas, filling in dark spots effectively.
- Employ multiple light sources for balanced lighting, preventing overpowering or unbalanced shadows.
- Adjust light intensity and distance to control shadow softness and enhance product details.

Skytex Softbox Lighting Kit 2Pack 20x28in Soft Box | 85W 2700-6400K E27 LED Bulb Continuous Photography Lighting, Photo Studio Lights Equipment for Camera Shooting, Video Recording
The kit included: 2pcs 20" x 28"/50cm x 70cm Softbox +2pcs 85W 2700-6400K 100V-240V LED Light Bulb +…
As an affiliate, we earn on qualifying purchases.
As an affiliate, we earn on qualifying purchases.
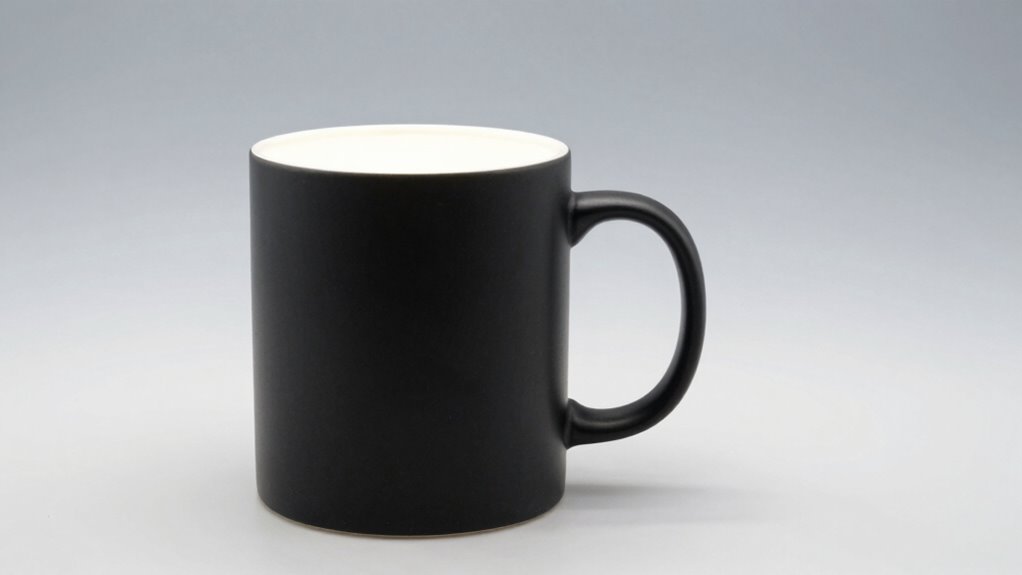
Why Shadows Happen and How They Affect Your Product Photos
Shadows occur when light hits an object from a specific angle, blocking some of the illumination and creating dark areas. These shadow patterns are influenced by the direction and intensity of your light source, shaping how your product appears in photos. Uneven light diffusion can cause harsh shadows that distract from your product’s details, making images look less professional. Shadows can add depth and dimension if used intentionally, but unintentional shadows may obscure important features or create unwanted distractions. Understanding how shadows form helps you predict their effect on your images. By controlling light angles and diffusion, you can minimize harsh shadows or use them creatively to enhance your product’s presentation. Recognizing shadow patterns is key to achieving consistent, appealing product photos. Additionally, adjusting your lighting setup and understanding shadow behavior can significantly improve the quality of your images. Exploring light diffusion techniques can further help in softening shadows and creating a more balanced illumination. Mastering lighting control is essential for professional-looking product photography, and employing diffusion materials can be particularly effective in managing shadow softness. Incorporating tools like reflectors and diffusers allows for more precise shadow management, leading to higher-quality results.

EMART Photography Reflector Holder, Photo Video Studio 5/8" Heavy Duty Metal Clamp Attachment, Light Stand Clip Mount with Umbrella Hole for Backdrop, Diffuser, Lighting
Practical&Convenient- It is a powerful spring clamp for photographer who needs an extra hand for single-person work and…
As an affiliate, we earn on qualifying purchases.
As an affiliate, we earn on qualifying purchases.
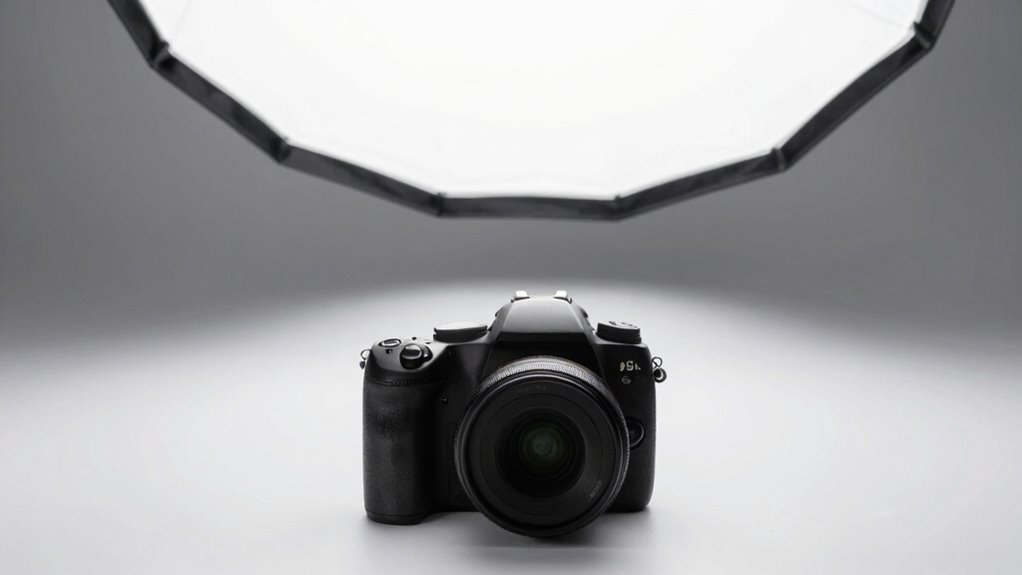
How to Position Lights to Reduce Harsh Shadows and Achieve Even Lighting

To achieve even lighting and reduce harsh shadows, you need to carefully position your lights around the product. Proper light placement guarantees uniform illumination and effective shadow control. Place your main light at a 45-degree angle to highlight details without creating deep shadows. Use fill lights or reflectors to bounce light into shadowed areas, softening harsh lines. Adjust the height and distance of lights to spread light evenly across the object. The goal is to minimize strong shadows while maintaining depth. Consider this guide:
| Light Placement | Shadow Control |
|---|---|
| Main light at 45° | Softens shadows, adds dimension |
| Fill light opposite | Reduces contrast, evens out |
| Height adjustment | Prevents unwanted shadows |
| Distance from product | Controls light intensity |
Mastering light placement enhances product clarity and visual appeal. Understanding watt-hours can help you choose appropriate lighting equipment to ensure consistent brightness and avoid power issues during shoots. Additionally, experimenting with light diffusion techniques can further soften shadows and create a more polished look. Incorporating light modifiers such as softboxes or umbrellas can also improve light softness and control. Using light meters can assist in precisely measuring light levels for optimal setup. Moreover, understanding lighting angles is essential for achieving the desired shadow effects and overall image quality.

7"/18cm Light Diffuser,Soft Diffuser Lamp Cover White Lamp Shade Diffuser,Great for Studio Strobe Reflectors, Video Shooting (4Pcs)
Versatile Application:This light diffuser is compatible with any 7-inch/180mm standard reflector and can be securely mounted on an…
As an affiliate, we earn on qualifying purchases.
As an affiliate, we earn on qualifying purchases.
Using Diffusers and Reflectors to Soften Shadows Effectively
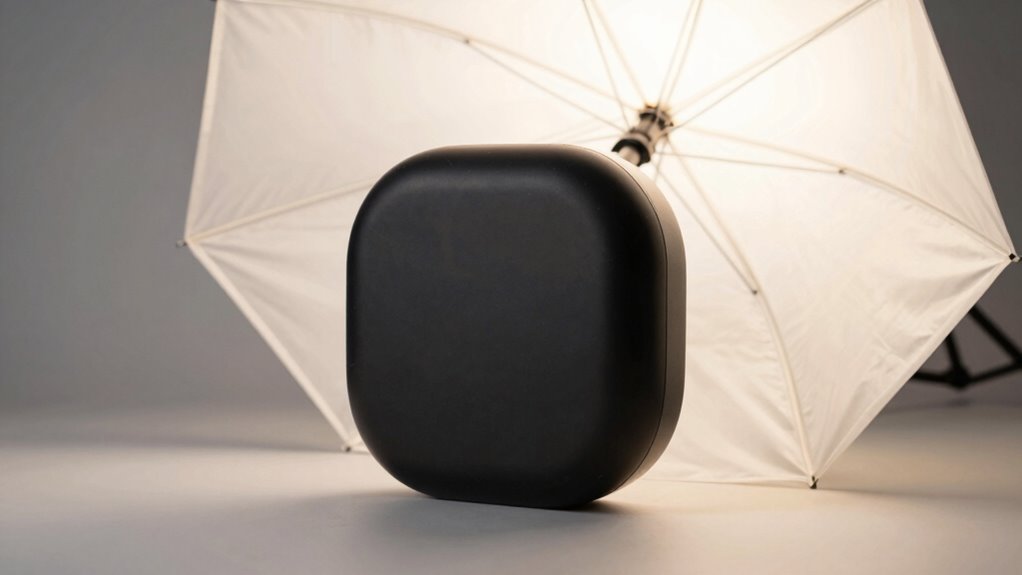
Using diffusers and reflectors allows you to control the quality of light falling on your product, making shadows softer and more pleasing. Diffuser materials, like translucent fabric or plastic, scatter light evenly, reducing harsh edges and creating a gentle progression between light and shadow. Reflector shapes, such as circular, rectangular, or triangular, influence how light bounces back onto your product, helping fill in shadows effectively. For softer shadows, opt for larger diffusers closer to the subject, and choose reflectors with broad surfaces to maximize light coverage. Experimenting with different diffuser materials and reflector shapes lets you fine-tune the light, ensuring your product appears well-lit without distracting shadows. Incorporating simple recovery routines like foam rolling can help improve your overall lighting setup by reducing muscle tension, leading to more consistent and comfortable shoots. Additionally, understanding lighting principles is crucial for achieving the desired shadow effects and enhancing your product presentation. Using light modifiers such as grids or snoots can further refine the direction and spread of light, allowing for more precise control. Paying attention to light positioning can also make a significant difference in shadow quality and overall image clarity. Incorporating proper lighting techniques ensures your setup produces even, flattering illumination that highlights your product’s best features. This simple setup enhances overall image quality and highlights your product’s best features.

Torjim RGB Photography Video Lighting, Studio Lights with Adjustable Tripod Stand – 16 Color Lighting for Video Recording/YouTube/TikTok/Live Streaming/Make up/Vlogging
Upgraded RGB Lighting for Diversified Shooting Effects: Apart from the frequently-used COOL and WARM lights, our photography lights…
As an affiliate, we earn on qualifying purchases.
As an affiliate, we earn on qualifying purchases.
Shooting Tips to Minimize Shadows During Your Photoshoot
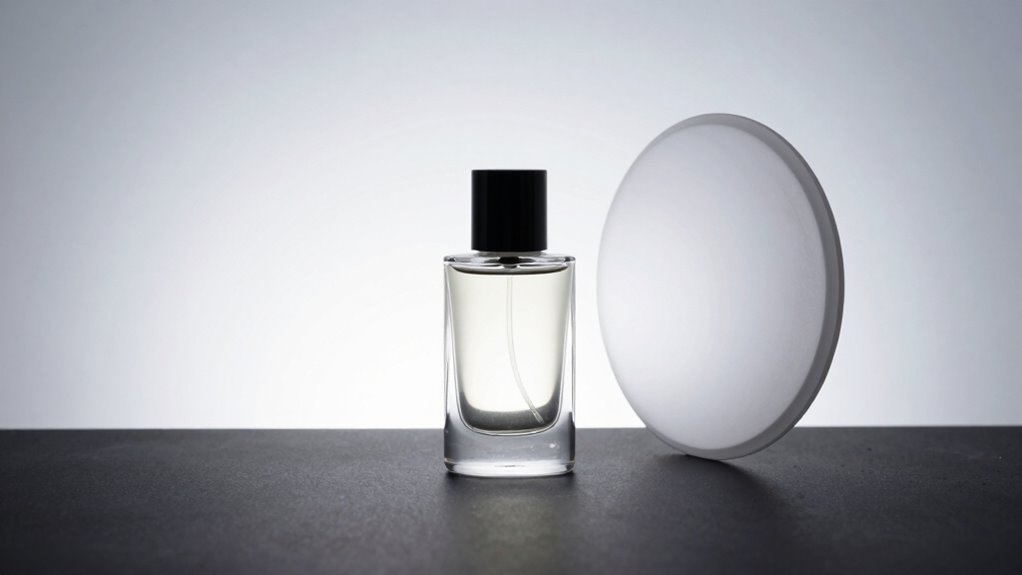
While it’s impossible to eliminate all shadows during a product photoshoot, you can substantially reduce their prominence by carefully planning your setup. Start by adjusting your lighting angles; position your lights so they face the product directly or at shallow angles to minimize harsh shadows. Use light modifiers like softboxes or umbrellas to diffuse the light, creating a more even and flattering illumination. Additionally, consider placing fill lights or reflectors opposite your main light to bounce light back onto shadowed areas, softening their appearance. Be mindful of filter sizing/flow to prevent uneven lighting that can exacerbate shadows.
Editing Your Photos to Reduce Shadows and Enhance Lighting Naturally

Editing your photos offers an effective way to reduce shadows and make lighting look more natural, especially when some shadows are unavoidable during the shoot. Start with color correction to balance tones and ensure consistent lighting across your image. This step helps diminish harsh shadow contrasts and enhances the overall appearance. Next, focus on background cleanup to eliminate distracting elements or uneven spots that draw attention away from your product. Using photo editing software, you can gently lighten shadowed areas or blend them seamlessly into the background. These adjustments help create a more professional, polished look without sacrificing authenticity. Remember, subtle edits preserve the natural feel of your product, making it more appealing to viewers. Incorporating professional photography techniques can also improve the initial lighting setup, reducing the need for extensive editing afterward. Additionally, understanding lighting ratios can guide you in achieving more balanced and flattering illumination during the shoot. Recognizing the importance of cryptid mysteries can inspire creative ideas to think outside the box when planning your lighting setup, ensuring your product stands out in every shot. Moreover, exploring lighting modifiers can help you control shadows more precisely and achieve softer, more even lighting in your images. Paying attention to natural light sources can further enhance the authenticity and appeal of your product images.
Frequently Asked Questions
What Are the Best Types of Lights for Minimizing Shadows?
You should use diffuse lighting with softboxes to minimize shadows effectively. Softboxes spread light evenly, creating a soft, wrap-around effect that reduces harsh shadows on your product. Position them close to your object for even coverage and consider using multiple softboxes from different angles. This setup ensures consistent, shadow-free lighting, giving your product a professional look while avoiding unwanted shadows that can distract from its details.
How Does Background Color Influence Shadow Formation?
Imagine photographing a shiny silver ring against a dark backdrop; the background color creates high contrast, reducing shadows, whereas a light background can produce softer, more diffuse shadow colors. Your choice of background influences shadow formation by either accentuating or minimizing shadows through contrast levels. Dark backgrounds tend to absorb light, resulting in sharper shadows, while light backgrounds reflect more light, softening shadow edges and colors.
Can Shadows Be Completely Eliminated in Product Photography?
You can’t completely eliminate shadows in product photography, but you can minimize them with diffuse lighting and effective shadow control. Using soft, evenly spread light reduces harsh shadows, making your product look cleaner. Position light sources carefully and consider reflectors or fill lights to bounce light into shadowed areas. While some shadows may remain, these techniques help create a more balanced, professional look that highlights your product’s details.
What Camera Settings Help Reduce the Appearance of Shadows?
Like a painter blending shades, you can soften shadows with the right camera settings. Use a small aperture (f/8 to f/11) to increase depth of field, and lower ISO to reduce noise. Adjust your camera angles to minimize harsh shadows, and enable diffuse lighting to spread light evenly. These settings help reduce shadows’ harshness, making your product look clean and professional, much like a masterful stroke on a canvas.
How Do Shadows Impact the Perception of Product Quality?
Shadows can substantially impact your product’s perception, making it look less appealing or less professional. Harsh shadows may hide details or create unwanted distractions, reducing overall product appeal. By managing shadow perception through proper lighting, you guarantee your product appears clear, vibrant, and high-quality. This not only enhances visual appeal but also builds trust with your audience, making your product more attractive and desirable to potential buyers.
Conclusion
Mastering lighting is like taming a wild beast—you can’t eliminate shadows completely, but you can guide them to fall where they flatter. By understanding shadows, positioning your lights wisely, and using diffusers or reflectors, you’ll turn chaotic darkness into a soft glow that highlights your product’s best features. Remember, with a little patience and finesse, your photos will shine brighter than ever—making shadows work for you instead of against you.