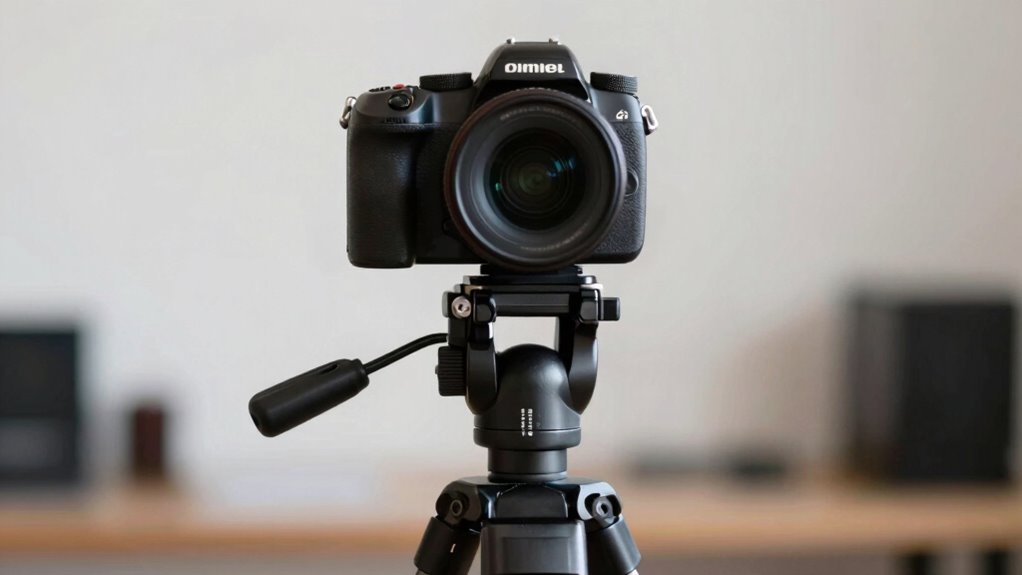
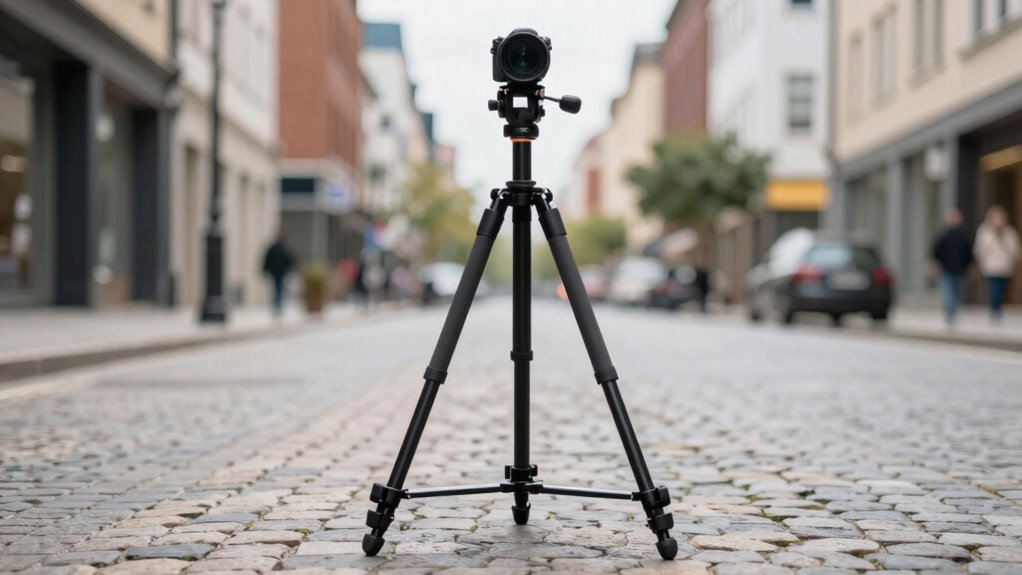
To nail eye level in every video, you need to measure your natural eye height and set your tripod so the camera lens aligns with your eyes. Adjust the tripod legs securely at this measured height and use a bubble level to keep it straight. Consistently maintaining this setup guarantees natural, engaging shots. Want to discover more tips on perfecting your tripod height and avoiding common mistakes? Keep going to learn how to make your videos look professional every time.
Key Takeaways
- Measure your eye height naturally and mark it on the tripod for accurate, consistent eye-level positioning.
- Adjust tripod legs to match your eye height, ensuring the camera lens aligns with your eyes.
- Regularly verify and lock tripod locks securely to maintain the correct height throughout filming.
- Keep the tripod at the same height across all shots to ensure visual consistency and professionalism.
- Use tools like bubble levels to ensure the camera remains perfectly horizontal at eye level.

VEVOR Laser Level Tripod, 1/4"-20 & 5/8"-11 Thread Mount, 40.94-133.85 inch Height Adjustment with Level Bubble & Heavy-duty Stand, Extendable Pole Lightweight Aluminum Tripod for Laser Scanner
Durable and Sturdy: The VEVOR tripod is crafted from 0.03''/0.8mm aluminum alloy, providing durability and resistance to wear…
As an affiliate, we earn on qualifying purchases.
As an affiliate, we earn on qualifying purchases.
Why Eye-Level Tripod Positioning Matters for Video Quality
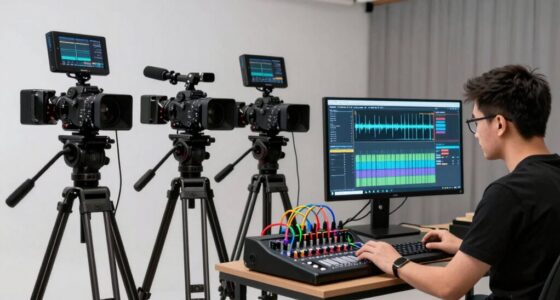
Eye-level tripod positioning is essential because it guarantees your video footage looks natural and engaging. When your camera is at eye level, viewers connect more easily with the subject, creating a sense of intimacy and authenticity. Proper positioning also affects your lighting setup, as it ensures your face is evenly lit without unwanted shadows, enhancing the overall visual quality. Additionally, maintaining eye level helps optimize audio quality by reducing unnecessary movement and noise, keeping your microphone focused on your voice. This consistency in camera height results in smoother shots and a more professional appearance. Paying attention to camera positioning techniques can also help prevent awkward framing and ensure your subject remains centered. By paying attention to eye-level positioning, you set a solid foundation for high-quality videos that captivate your audience and convey your message clearly. For optimal results, consider gear and knife roundups to ensure your filming setup includes all essential accessories for a seamless experience. Incorporating camera stability techniques further enhances your footage, especially when working with multi-mower setups or dynamic yard environments. Utilizing stable projection technology can also improve video clarity and immersion, making your content more engaging. Paying close attention to tripod height helps maintain consistency across shots and minimizes the need for adjustments during filming.

Vimose Phone Tripod & Selfie Stick with Remote, Portable, Lightweight for Video Recording Vlog, Extendable Travel Tripod Stand Compatible with iPhone Android, Black, 62"
Portable All-in-One Selfie Stick Tripod: Vimose newly designed all-in-one tripod combines a phone tripod and selfie stick. It…
As an affiliate, we earn on qualifying purchases.
As an affiliate, we earn on qualifying purchases.
How to Measure Your Eye Level for Perfect Shots
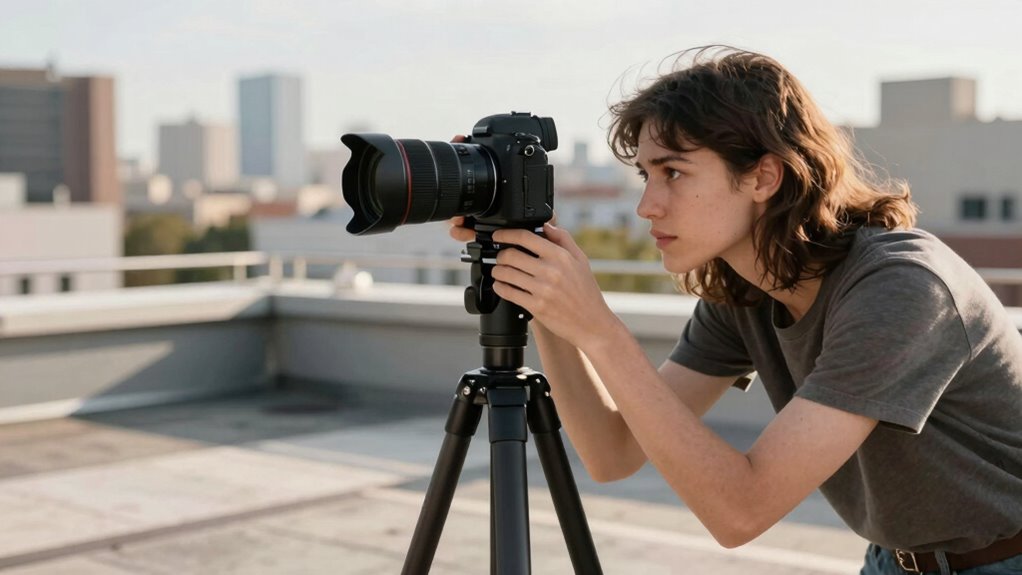
To achieve the perfect shot, you need to know exactly where your camera should be positioned in relation to your eyes. Start by standing naturally where you’ll film, then mark your eye level with a piece of tape or a marker on your tripod. Consider your lighting setup—make certain your light source illuminates your face evenly at this height. Check your background composition at eye level, making sure your background isn’t distracting or cluttered. Adjust your tripod so the camera lens aligns with your eye line, maintaining this height throughout filming. This precise measurement helps create a balanced frame, improves engagement, and ensures consistency. Remember, having your camera at eye level enhances the connection with your audience and results in more professional-looking videos. Additionally, understanding firewood handling tips can help ensure your filming area remains safe and clutter-free, supporting a more efficient workflow. Being mindful of tripod stability is also essential to prevent accidental shifts during recording, especially when adjusting your setup. Proper camera positioning not only boosts video quality but also contributes to a more natural and authentic viewer experience. Paying attention to lighting setup can further improve the overall look and feel of your videos, making them more appealing to viewers. For optimal results, regularly inspect your equipment to maintain equipment stability and avoid any unexpected issues during filming.

Xincere 55-inch Lightweight Aluminum Laser Level Tripod Stand with Bubble Level, Quick Release Plate with 1/4"-20 Screw Mount for Laser Line Leveling
Stability: The rubber feet ensure exceptional stability on various terrains, making it an essential tool for your job
As an affiliate, we earn on qualifying purchases.
As an affiliate, we earn on qualifying purchases.
Step-by-Step: Setting Your Tripod at Eye Level

Setting your tripod at eye level involves a straightforward process that guarantees consistent, professional shots. First, adjust the tripod legs to match your measured eye height, ensuring tripod stability by spreading the legs evenly on a flat surface. Lock all locks securely to prevent movement during filming. Check the camera’s alignment to confirm it’s perfectly horizontal, avoiding tilted shots. Consider lighting conditions—position the tripod so natural or artificial light sources illuminate your face evenly, reducing shadows. Use a bubble level if available, to fine-tune the camera’s position. Remember, a stable tripod at eye level creates a natural perspective and helps maintain focus. Taking these steps ensures your footage looks polished and consistent, with suitable lighting and stability. Additionally, vehicle accessories like lighting or mounts can enhance your setup for outdoor filming. Proper tripod setup is essential for achieving professional-looking video content, especially when aiming for consistent eye-level shots. To further improve stability, consider using tripod accessories such as stabilizers or grips, which can help prevent unwanted movement during recording.
VICTIV 74” Camera Tripod, Tripod for Camera and Phone, Aluminum Professional Tripod Stand for Canon Nikon with Carry Bag and Phone Holder, Compatible with DSLR, iPhone, Spotting Scopes, Max Load 9.5Lb
【74 Inch Tall Tripod and Compact Tripod】 This tall camera tripod has a height adjustment range of 19-74…
As an affiliate, we earn on qualifying purchases.
As an affiliate, we earn on qualifying purchases.
Common Mistakes That Ruin Eye-Level Framing

One common mistake is setting your camera too high or too low, which throws off the natural eye-level perspective. Improper framing techniques, like cutting off important subjects or including distracting elements, also ruin the shot. Paying attention to these details helps you maintain accurate eye-level framing and improve your photos. Additionally, understanding the importance of consistent visual hierarchy ensures your viewers stay engaged and focused on the main subjects. To achieve this, consider how lighting can enhance or detract from the overall composition and draw attention to your focal points. Proper piercing placement can also help create a balanced and harmonious visual flow in your videos. Being aware of styling techniques can further refine your framing and overall video quality. Recognizing the impact of camera angles on viewer perception allows for more intentional and effective shot composition.
Camera Height Mistakes
Many photographers make the mistake of placing the camera too high or too low, which can throw off the eye-level perspective you want to achieve. When your camera isn’t at the right height, it can distort the viewer’s connection to your subject, making the shot feel unnatural. A common mistake is adjusting the tripod without considering the lighting setup; poor lighting can compound the problem, making your subject appear unflattering. Additionally, incorrect camera height can negatively impact audio quality, as microphones may pick up unwanted sounds or fail to capture clear voice levels. To avoid this, set your tripod so the camera is directly at eye level, ensuring natural framing, proper lighting, and crisp audio. This simple step maintains viewer engagement and enhances your overall video quality. Proper camera positioning also helps in achieving consistent framing and professional-looking results.
Improper Framing Techniques
Proper framing at eye level is key to creating natural and engaging shots, but common mistakes can easily undermine these efforts. Improper framing techniques often lead to awkward compositions that distract viewers. For example, neglecting proper lighting setup can cause shadows that obscure your face, while poor audio clarity distracts from your message. Additionally, framing too tightly or too loosely can break the connection with your audience. To avoid these pitfalls: 1. Ensure your face is centered and fill the frame appropriately. 2. Use consistent lighting to highlight your eyes and maintain clarity. 3. Check audio quality to prevent distractions and maintain engagement. Moreover, paying attention to camera angle can significantly enhance the viewer’s experience and help maintain eye contact. Properly managing investment risks can also contribute to overall confidence in your video content. Being aware of lighting setup and how it impacts your appearance can further improve the professionalism of your shots. Incorporating knowledge about environmental considerations like choosing suitable lighting and backdrop can make your videos more appealing and professional.
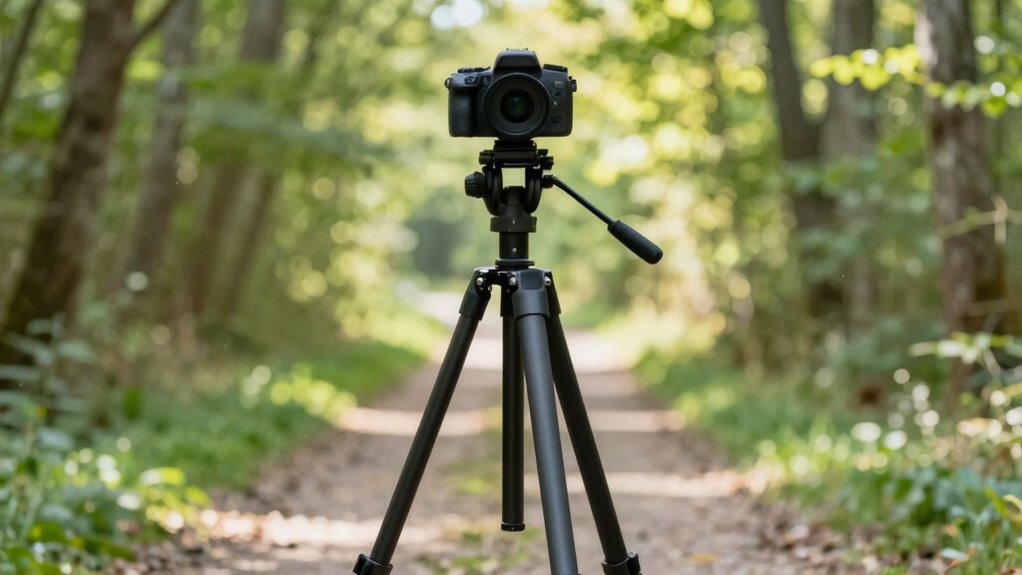
Adjusting Tripod Height for Different Shooting Scenarios
Adjusting your tripod height appropriately can substantially improve your shot quality across different scenarios. For indoor interviews or talking heads, set the tripod so the camera captures eye level, ensuring natural framing and better engagement. When filming in low-light conditions, raise the tripod to maximize the lighting setup’s effectiveness, avoiding shadows and dark spots. For outdoor scenes with noisy backgrounds, lowering the tripod slightly can help focus on the subject and improve audio quality, especially if you’re using external microphones. Conversely, if you’re capturing wide landscapes or group shots, extend the tripod fully for stability and a broader perspective. Always consider the environment and your content goals. Proper height adjustment guarantees your footage looks professional, and your audio and lighting work together seamlessly.
Tips to Keep Your Shots Consistent at Eye Level
Keeping your shots consistent at eye level helps create a natural and engaging perspective for viewers. To do this effectively, focus on three key tips:
- Check your lighting setup regularly to avoid shadows or glare that can distract from eye contact. Proper lighting enhances clarity and maintains a steady look.
- Maintain a fixed tripod height for each scene, ensuring your camera stays at the same eye level to keep shots uniform.
- Monitor sound quality by placing microphones at consistent heights, which complements visual consistency and keeps audio aligned with your eye-level framing.
How Proper Tripod Height Boosts Viewer Engagement
When your tripod height aligns with the subject’s eye level, viewers naturally connect with your content. Proper camera angles create a sense of intimacy and authenticity, making your audience feel involved. If your tripod is too high or low, it can disrupt this connection, causing viewers to disengage. Additionally, correct height improves lighting setups, ensuring your face is well-lit and free of shadows, which enhances visual clarity. When viewers see you at eye level, they’re more likely to stay engaged, trust your message, and feel like they’re having a direct conversation. Consistent tripod height also reduces distracting shifts in perspective, keeping your video smooth and professional. Overall, proper tripod height is a simple yet powerful way to boost viewer engagement through better camera angles and lighting.
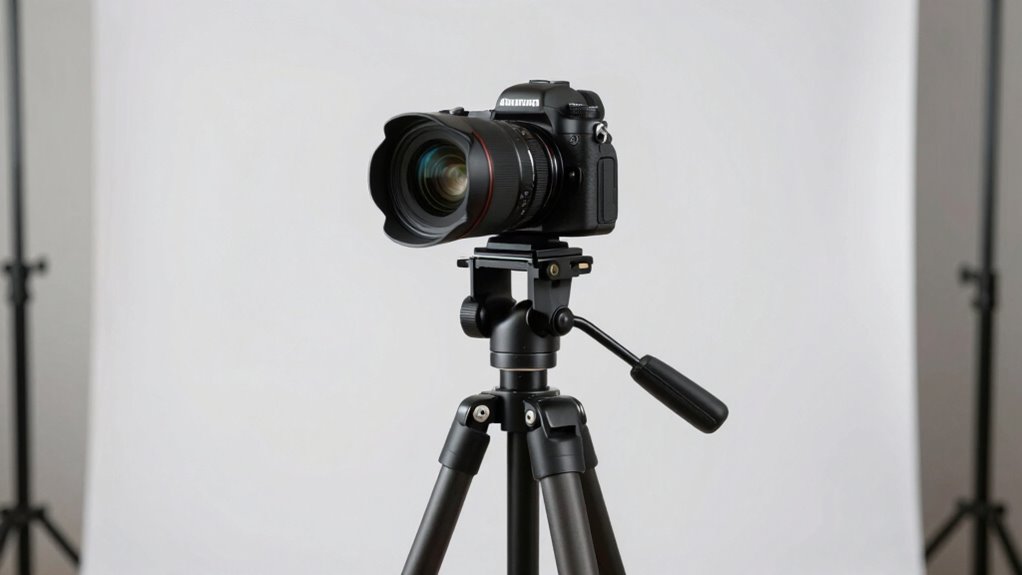
Essential Tools and Accessories for Eye-Level Shots

To achieve consistent eye-level shots, having the right tools and accessories makes a significant difference. First, a reliable lighting setup ensures your face is well-lit, preventing shadows that can distract viewers. Second, quality audio equipment, like a lapel or shotgun microphone, captures clear sound at eye level, enhancing viewer engagement. Third, a sturdy tripod with adjustable height features helps you maintain the perfect eye-line, regardless of the environment. Additionally, consider using a spirit level or bubble level on your camera or tripod to guarantee the shot remains level. These tools work together to create professional-looking videos that feel natural and engaging, keeping your audience focused on you rather than technical distractions.
Troubleshooting When Your Tripod Won’t Lock at Eye Level

If your tripod refuses to lock at eye level, it can disrupt your filming setup and compromise shot stability. To troubleshoot, check for debris or dirt in the locking mechanisms, as these can hinder proper engagement. Ensure the locking levers are fully tightened; loose locks cause instability, affecting camera angles. Use the table below to identify common issues and solutions:
| Issue | Cause | Solution |
|---|---|---|
| Tripod won’t lock | Worn or damaged lock | Replace or repair lock mechanism |
| Unstable height | Loose locking levers | Tighten all locks securely |
| Difficulty adjusting | Debris in joints | Clean joints thoroughly |
| Uneven tripod | Uneven footing | Level the tripod on stable ground |
| Stuck locks | Rust or corrosion | Lubricate with appropriate oil |
Maintaining tripod stability ensures consistent camera angles, even at eye level.
Final Tips to Perfect Your Eye-Level Tripod Shots

To get the perfect eye-level shot, start by using a leveling bubble to make sure your tripod is even. Keep your support steady to prevent any movement that could blur your image. Finally, check your eye alignment to make sure your camera is perfectly centered for a balanced composition.
Use a Leveling Bubble
Using a leveling bubble is one of the simplest ways to guarantee your tripod is perfectly aligned at eye level. It helps you achieve accurate tripod calibration, ensuring your shots stay level and professional. To use it effectively:
- Place the tripod on a flat surface before adjusting.
- Adjust the tripod legs until the leveling bubble centers.
- Double-check the bubble after any movement to maintain perfect alignment.
This quick step prevents tilted shots and saves you time in post-production. Remember, a properly calibrated tripod with a centered leveling bubble ensures your camera is at the right height and angle. Keeping the bubble in the middle is essential for consistent, high-quality footage. Use this simple tool to make sure your eye-level shots are spot-on every time.
Maintain Steady Support
Maintaining steady support is crucial for capturing sharp, professional-looking shots at eye level. To guarantee tripod stability, always lock all tripod legs securely and avoid sudden movements. Using high-quality camera accessories, like weight hooks or rubber feet, can enhance stability further. Make sure the tripod is on a level surface and double-check that the legs are evenly extended. Avoid leaning on the tripod or applying uneven pressure, which can cause wobbling. Consider using a tripod with a fluid head for smoother movements if needed. A stable tripod prevents camera shake, ensuring your footage remains crisp and clear. Remember, steady support is the foundation for achieving the perfect eye-level shot, so take the time to set up your tripod properly.
Check Eye Alignment
Ensuring your camera is perfectly aligned with your eye level is essential for capturing natural, professional shots. Proper visual alignment helps convey authenticity and keeps viewers engaged. To check eye alignment effectively:
- Confirm your camera’s lens is at the same height as your eyes to maintain facial symmetry and avoid awkward angles.
- Use a mirror or a secondary device to verify your eye line matches the camera’s position.
- Step back and review test footage to make certain your eyes are centered and level with the frame, enhancing natural connection.
Frequently Asked Questions
How Do I Adjust Tripod Height on Uneven Surfaces?
To adjust your tripod height on uneven surfaces, first extend or shorten the legs unevenly to level the tripod, ensuring stability. Use surface padding or small objects like rocks or pads under the shorter legs to maintain balance and prevent wobbling. Always check that the tripod remains stable and secure before filming. This way, you keep your camera steady, and your shots stay professional, even on challenging surfaces.
Can I Use a Selfie Stick to Achieve Eye-Level Shots?
Sure, you can use a selfie stick to achieve eye-level shots. Stick with stable setups over shaky handhelds, as selfie stick stability guarantees clear, consistent captures. While handheld selfie sticks are portable, they can be wobbly, but a tripod keeps your shot steady and symmetrical. For eye-level excellence, extend your selfie stick to the perfect height, and if possible, secure it on a stable surface for the smoothest, most professional results.
What Camera Settings Best Complement Eye-Level Framing?
For eye-level framing, set your aperture to around f/2.8 to f/4 for a sharp focus on your face and a pleasant background blur. Use a shutter speed of 1/60 to 1/125 seconds to prevent motion blur, especially if you’re moving slightly. Keep ISO low for clarity. These settings help you achieve a natural, well-balanced look that keeps your eye level perfectly framed and visually appealing.
How Do Lighting Conditions Affect Eye-Level Shot Quality?
Think of lighting as the brushstrokes that bring your story to life. When lighting is consistent, your eye-level shot shines with clarity and focus. Shadows can be friends or foes—manage them carefully to avoid distracting dark patches or harsh contrasts. Good lighting conditions guarantee your subject’s eyes stay engaging, drawing viewers in. With proper shadow management and steady lighting, your video quality elevates, making every eye-level shot compelling and professional.
Is There a Recommended Tripod Brand for Consistent Eye-Level Positioning?
You should consider tripod brands like Manfrotto or Vanguard for consistent eye-level positioning, as they offer reliable stability and precise height adjustments. If you’re on a budget, look into brands like AmazonBasics or Neewer, which provide sturdy options at lower prices. Ensuring your tripod’s stability is key to maintaining eye level, so choose a model with adjustable legs and secure locks to keep your camera steady during recordings.
Conclusion
Mastering eye-level tripod shots is like tuning a musical instrument—you create harmony between you and your audience. When your camera’s at the right height, your viewers feel more connected, like they’re right there with you. Keep practicing your eye-level setup, and you’ll turn ordinary videos into mesmerizing stories. Remember, the right tripod height isn’t just a detail; it’s the foundation that brings your vision to life, making every shot resonate deeply.