
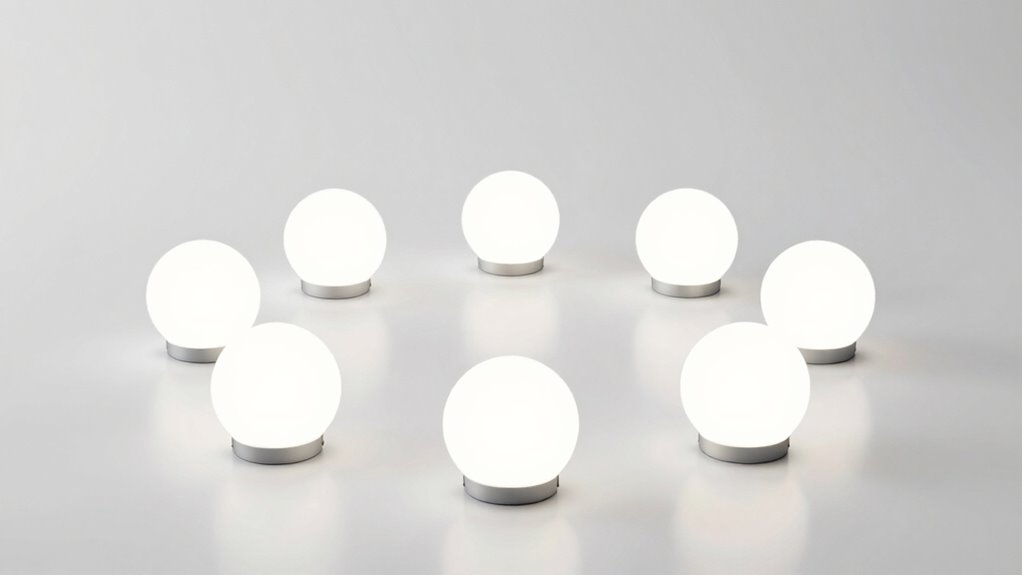
To get product photos that sell using a 5-light setup, you need the right equipment like softboxes, diffusers, reflectors, and sturdy tripods. Position your lights at strategic angles—main at 45°, fill to soften shadows, and background lights to eliminate unwanted shadows and add depth. Adjust for consistency and refine your setup for each product. Keep everything maintained to achieve professional results that can boost sales. Find out more about perfecting your lighting for stunning ecommerce shots.
Key Takeaways
- Use a three-point main light setup with fill and background lights for balanced, professional product photos.
- Position lights at 45° angles to highlight textures and contours effectively.
- Incorporate diffusers and reflectors to soften shadows and create even, natural-looking illumination.
- Maintain consistent color temperature and adjust light intensity to prevent overexposure or dark areas.
- Regularly check and tweak your setup to ensure uniform, high-quality images that boost sales.

EMART 8.5 x 10 ft Backdrop Support System, Professional Photography Lighting Kit with 5500K 50W LED, 6 * 9ft Backdrop *3, Reflector,Umbrellas&Softbox Lighting Kit for Studio, Portrait, Video Shooting
【8.5x10ft Backdrop Support System】The backdrop support system includes three 6x9ft muslin backdrops (black/white/green) and features adjustable backdrop stand…
As an affiliate, we earn on qualifying purchases.
As an affiliate, we earn on qualifying purchases.
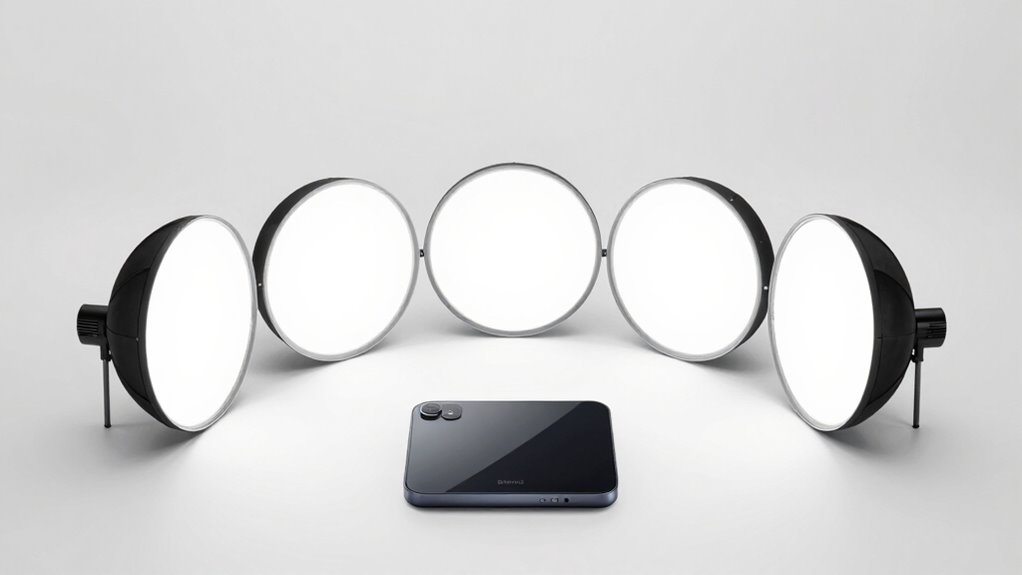
What Equipment Do You Need for a 5-Light Product Photography Setup?
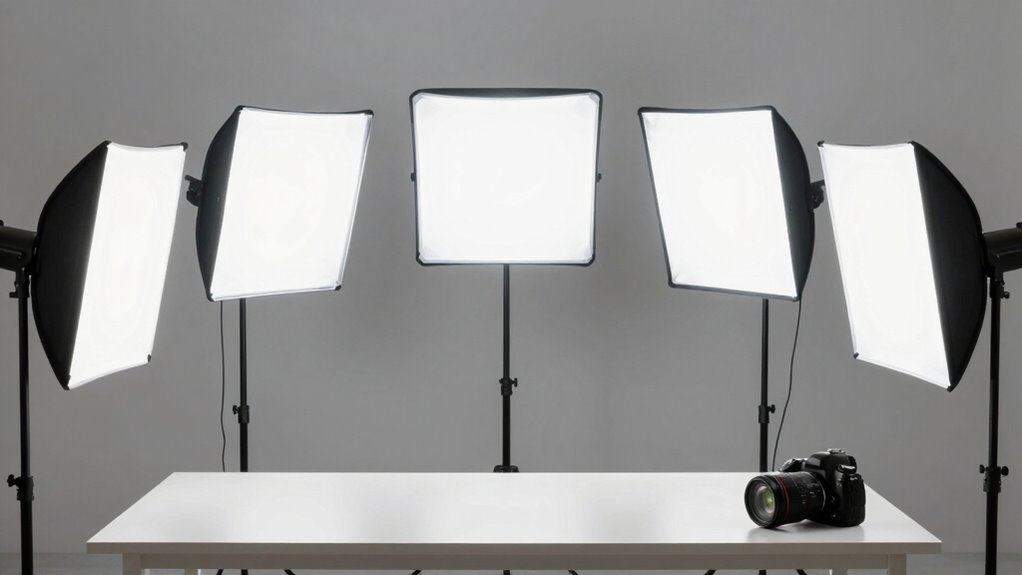
To create a professional 5-light product photography setup, you’ll need specific equipment to guarantee even lighting and highlight your products effectively. Start with reliable lighting accessories like softboxes, reflectors, and diffusers to control light quality. These tools help eliminate harsh shadows and create a polished look. You’ll also need a sturdy tripod to maintain consistent camera angles, ensuring sharp, well-composed shots from multiple perspectives. Consider adjustable light stands for flexibility in positioning your lights precisely. A color-correcting filter or gel can help manage color balance. Proper arrangement of these lighting accessories allows you to manipulate shadows and highlights effortlessly. Additionally, understanding the importance of data storage and backup solutions can help you safeguard your valuable product images and photography files. Incorporating storage solutions ensures your files are protected against loss or damage. Implementing reliable digital asset management practices can streamline your workflow and make it easier to access and organize your images. Furthermore, selecting quality camera equipment is essential for capturing high-resolution images that showcase product details vividly. Embracing creative techniques such as experimenting with different angles and lighting setups can elevate your product photography to a professional level. Ultimately, choosing the right equipment assures you can experiment with camera angles and produce consistent, professional-grade product images.

NEEWER 700W Equivalent Softbox Lighting Kit, 2Pack UL Certified 5700K LED Lighting Bulbs, 24×24 inches Softboxes with E26 Socket, Photography Continuous Lighting Kit Photo Studio Equipment
The kit includes (2) 24"X24"/60x60cm Softbox + (2) 35W 5700K LED Light Bulb (total equivalent to 700W regular…
As an affiliate, we earn on qualifying purchases.
As an affiliate, we earn on qualifying purchases.
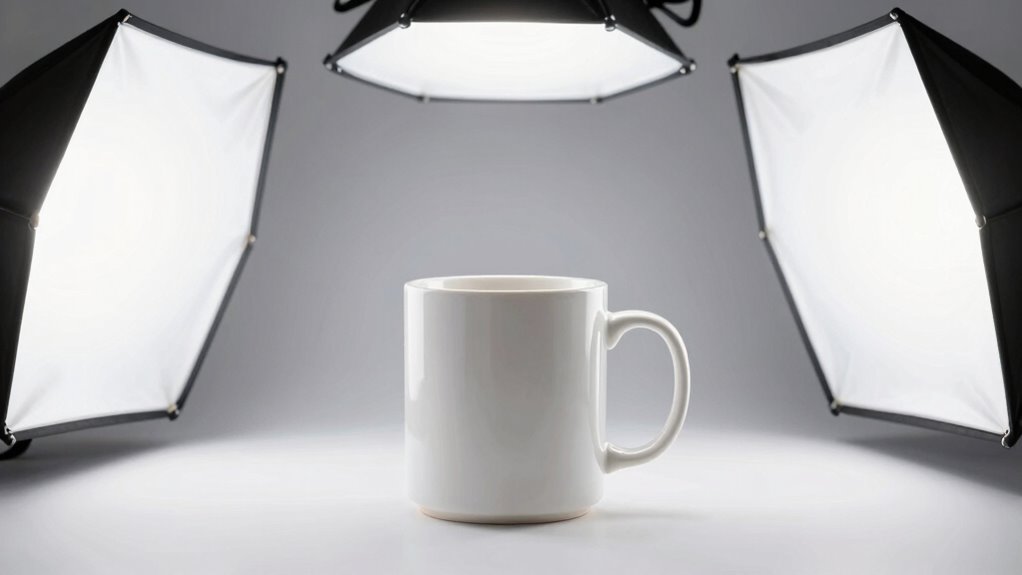
How to Arrange Your Lights for a Professional Look
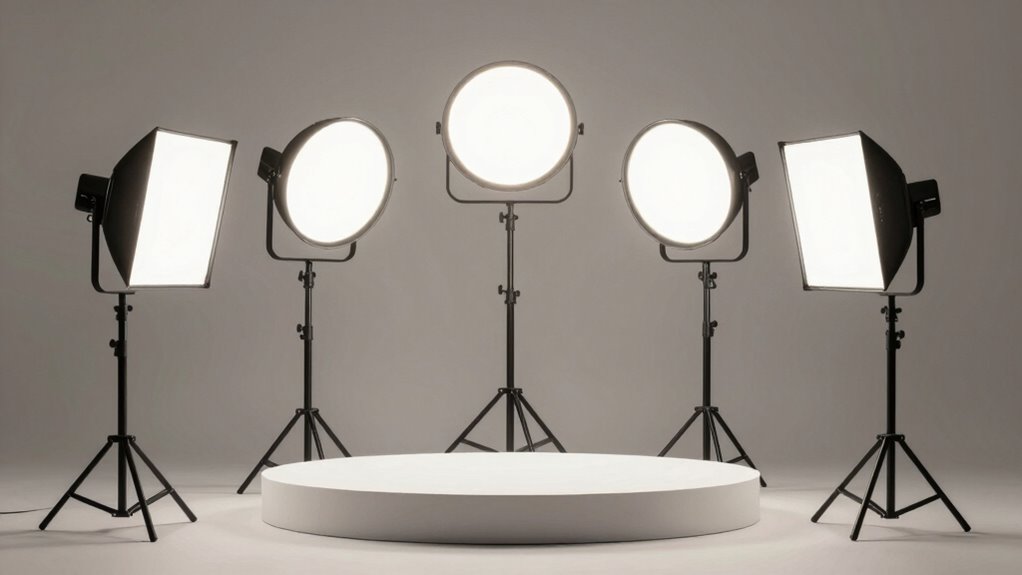
To achieve a professional look, you need to position your lights strategically around your product. Use diffusers to soften harsh shadows and create a more natural appearance. Make sure to balance light intensity so no part of your product is overexposed or underlit. Additionally, consider incorporating LED skincare masks into your setup to highlight features without causing discomfort or eye strain. Also, adjusting your lighting angles can help eliminate unwanted reflections and improve overall image quality. Paying attention to your lighting temperature can further enhance the mood and consistency of your product photos. Being mindful of filtration techniques can also help control reflections and improve clarity in your images. Incorporating lighting setup tutorials can provide valuable guidance to optimize your arrangement.
Position Lights Strategically
Properly positioning your lights can make all the difference in creating a professional-looking product photo. Start by considering product placement—place your item centrally to guarantee even lighting. Position your main light at a 45-degree angle to highlight contours and textures, enhancing the product’s appeal. Use a consistent color temperature across your lights to maintain accurate color representation; warmer tones create a cozy feel, while cooler tones look sleek and modern. Balance your lights to avoid harsh shadows or overexposed spots, which can distract from your product. Remember, strategic placement of your lights emphasizes key features and maintains a clean, professional look. Adjusting your lights based on product size and shape helps achieve the perfect shot that sells. Additionally, ensure your lighting setup minimizes harsh shadows and uses diffusers when necessary to produce soft, even illumination. Paying attention to proper light placement and understanding lighting techniques can significantly improve the overall quality of your ecommerce images. Incorporating lighting setups tailored specifically for product photography can further enhance visual appeal and consistency. Being aware of lighting modifiers can also help you shape and control your light more precisely for optimal results.
Use Diffusers Effectively
Using diffusers is essential for achieving soft, even lighting that makes your product look polished and professional. Diffuser techniques help scatter light, reducing harsh shadows and glare. To maximize their effectiveness, combine diffusers with appropriate lighting modifiers, such as softboxes or umbrellas. Position your diffusers close to the light source for a gentle, diffused glow, or angle them to control shadow placement. Experiment with distance and placement to find the perfect balance. Here’s a visual guide:
| Diffuser Technique | Lighting Modifier | Effect |
|---|---|---|
| Close to light source | Softbox | Softer, more even light |
| Angled for shadow control | Umbrella | Controlled shading |
| Over the product | Diffused overhead light | Minimized reflections |
| Behind the product | Backlighting with diffuser | Even background lighting |
| Multiple diffusers | Layered setup | Uniform, diffused overall |
Additionally, adjusting the diffuser angle can significantly impact the quality of your lighting setup. Using lighting modifiers such as softboxes and umbrellas enhances your control over shadows and highlights, resulting in more professional product photos. Incorporating light placement strategies enhances your control over shadows and highlights, resulting in more professional product photos. Proper cable management also plays a crucial role in maintaining a clean and organized workspace. Moreover, understanding smart yard care concepts can inspire creative lighting ideas by considering how outdoor lighting interacts with reflective surfaces and shadows in product photography.
Balance Light Intensity
Achieving a professional product photo depends on balancing light intensity across your scene. Proper light balancing ensures your product looks true to color and maintains a clean, polished appearance. To do this effectively, consider lighting color and light positioning.
Here’s how to balance light intensity:
- Adjust the brightness of each light source to prevent hotspots or shadows, ensuring consistent lighting.
- Use diffusers or modifiers to soften lighting and create a harmonious lighting color, avoiding harsh contrasts.
- Position lights at varying angles so their intensities complement each other, which helps control the overall balance and maintains a natural look.
- Monitor light distribution regularly to maintain optimal light balance and avoid uneven illumination. Additionally, understanding lighting color temperature can help you fine-tune your setup for more accurate and appealing product photos. Paying attention to light distribution also minimizes the risk of uneven shadows or overly bright spots, enhancing the professionalism of your images.

Ulanzi TT43 Extendable Photography Light Stand, Adjustable 6.23ft Aluminum Tripod, Reversible Portable Studio Lighting Tripod for Continute Output Lighting/Strobe Light/Webcams/Cameras/Softbox
【Ultra Sturdy Aluminum Light Stand】This TT43 professional photography light stand features full metal build with anodized aluminum alloy,…
As an affiliate, we earn on qualifying purchases.
As an affiliate, we earn on qualifying purchases.
Why Consistency in Your Lighting Setup Boosts Your Photos
When your lighting stays consistent, your product photos become more polished and professional-looking. Consistency guarantees uniform lighting color and shadow control, making your products appear cohesive across multiple shots. This helps build trust with your audience and reduces post-editing time. Maintaining the same setup prevents unexpected variations, so your images stay true to the product’s appearance. Use the table below to see how consistent lighting benefits your workflow:
| Benefit | Impact |
|---|---|
| Lighting color | Keeps hues accurate, avoiding color shifts between shots |
| Shadow control | Ensures shadows don’t distract or obscure details |
| Overall consistency | Creates a unified, professional look across your catalog |
Sticking to a set lighting setup makes your photos more dependable and appealing.

NEEWER 43 Inch/110 Centimeter Light Reflector Diffuser 5 in 1 Collapsible Multi Disc with Bag – Translucent, Silver, Gold, White, and Black for Studio Photography Lighting Outdoor
43" 110CM 5 in 1 Collapsible Multi Disc Light Reflector
As an affiliate, we earn on qualifying purchases.
As an affiliate, we earn on qualifying purchases.
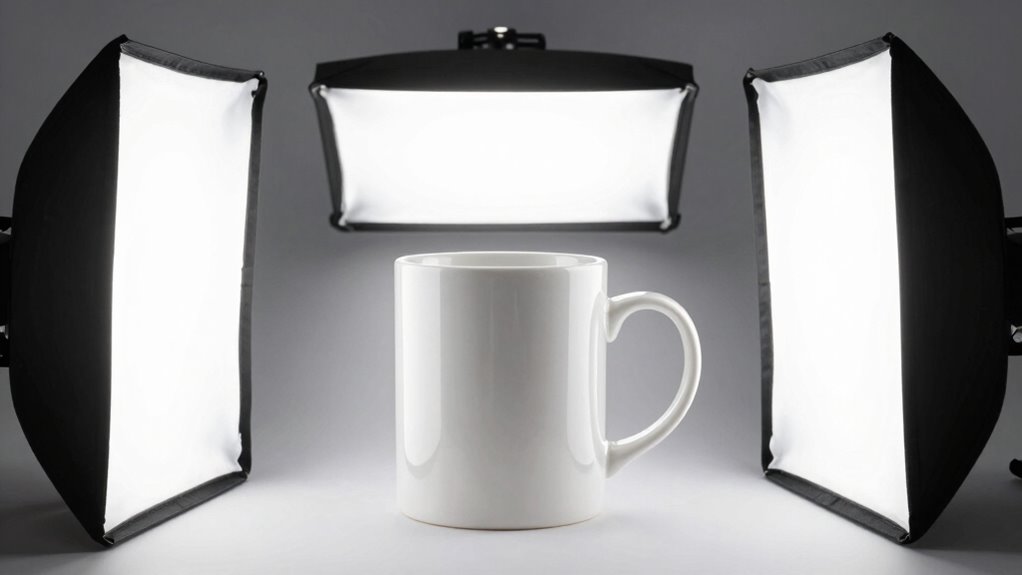
Step-by-Step: Setting Up Your 5-Light System
To get your product photos looking professional, you need to set up your 5-light system carefully. Start by positioning each light strategically to eliminate shadows and highlight details. Then, adjust the light intensity and use reflectors to soften shadows and create a balanced, appealing look.
Positioning Lights Strategically
Positioning your lights effectively is essential for highlighting your product’s best features and creating a professional look. Proper light positioning ensures even coverage and emphasizes details, while also controlling shadows. Focus on maintaining consistent color temperature across all lights to keep your product’s appearance natural. Here are key ideas:
- Place key lights at a 45-degree angle to highlight contours and textures, ensuring ideal light positioning.
- Use fill lights to soften shadows without overpowering the main illumination, balancing the scene.
- Adjust the background light to prevent unwanted shadows and add depth, considering the color temperature to match overall tone.
Strategic placement enhances clarity and color accuracy, making your product stand out and look irresistible.
Adjusting Light Intensity
Adjusting light intensity is essential for achieving the perfect balance in your product photos. Proper exposure control ensures your images are neither too dark nor too washed out. Use your light source’s dimming features to fine-tune the light intensity, creating even illumination. Start with a moderate setting and adjust incrementally. The table below helps you visualize typical adjustments:
| Light Source | Suggested Intensity | Effect |
|---|---|---|
| Key Light | High (full power) | Bright, detailed product |
| Fill Light | Medium | Softens shadows |
| Accent Lights | Low to medium | Highlights or subtle details |
| Background | Low or off | Ensures focus stays on product |
Using Reflectors Effectively
Reflectors are invaluable tools for shaping and controlling light in your product photos, especially when working with a multi-light setup. Proper reflector placement helps bounce light into shadows, softening harsh contrasts and enhancing details. To use reflectors effectively, consider these key points:
- Position reflectors opposite your main light source to maximize light diffusion and fill in shadows.
- Adjust reflector angles to control the intensity and spread of reflected light.
- Use different reflector surfaces (white, silver, gold) to achieve various light qualities and warmth.
Experiment with reflector placement to find the best light diffusion for your product. Keep the reflectors close enough to bounce sufficient light but avoid overexposing your subject. Proper use creates balanced, professional-looking images.
Tips to Adjust and Fine-Tune Your Lighting for Different Products
To make your product photos truly stand out, you need to tailor your lighting setup to suit each item’s unique features. For example, adjusting your lights to enhance the product color guarantees accurate representation, making the item more appealing. Fine-tuning shadow control helps highlight details without creating harsh or distracting shadows. If you’re photographing glossy or dark products, soften your lighting to reduce glare and deepen shadows gradually. Conversely, for lighter or matte items, increase contrast to add dimension. Small tweaks, like repositioning lights or modifying diffusion, can dramatically improve the shot’s clarity and attractiveness. Always assess how your adjustments affect the overall balance, ensuring the product remains the focal point while the lighting complements its qualities.
Quick Tips for Maintaining Your 5-Light Setup
Keeping your 5-light setup consistent is key to producing reliable, high-quality product photos. Regular lighting maintenance ensures your setup stays ideal, preventing uneven illumination. Check your light bulbs and replace any dimming or flickering ones promptly. Equipment calibration is essential; periodically verify that each light is positioned correctly and emitting the same intensity. This helps maintain uniform lighting across your shots. To keep everything in top shape, consider these quick tips:
- Clean your light diffusers and reflectors regularly to prevent dust build-up.
- Use a light meter to calibrate and match light intensities consistently.
- Store your equipment properly when not in use to avoid damage and misalignment.
Sticking to these practices guarantees your 5-light setup remains reliable for professional, high-quality product photography.
Frequently Asked Questions
Can I Use Natural Light Instead of Artificial Lights?
Yes, you can use natural light instead of artificial lights for your product photos. Natural light creates soft, even illumination that highlights your products beautifully, especially during the golden hour. However, it can be unpredictable and affected by weather or time of day. Artificial lights give you more control over consistency and color balance. Combining both might give you the best results for clean, professional ecommerce shots.
What Camera Settings Are Best for 5-Light Setups?
Think of your camera as a paintbrush in a well-lit studio. For a 5-light setup, use a moderate aperture setting like f/8 to keep details sharp. Keep ISO low, around 100-200, to avoid grainy images. Adjust shutter speed to balance exposure, ensuring your product is perfectly illuminated without overexposure. These settings help your product shine, capturing the clarity and brightness your customers crave.
How Do I Choose the Right Background for Product Photos?
To choose the right background for your product photos, focus on background contrast and color harmony. Pick a background that makes your product stand out without clashing, ensuring it complements the product’s colors. Use contrast to highlight details, and select a neutral or matching color palette that enhances your product’s appeal. Experiment with different backgrounds to see what makes your product pop and keeps the overall look cohesive.
Is This Setup Suitable for Photographing Small or Large Items?
Ever wondered if this setup suits your needs? It’s highly versatile, offering excellent scale flexibility for both small and large items. The 5-light configuration ensures even illumination, enhancing detail regardless of size. Plus, its equipment compatibility allows you to customize your shoot for any product dimension. So whether you’re photographing tiny jewelry or large furniture, this setup adapts seamlessly, making your ecommerce photos look professional and appealing.
How Can I Improve Color Accuracy With This Lighting System?
To improve color accuracy with this lighting system, focus on color calibration and maintaining lighting consistency. Use a gray card during setup to calibrate your camera’s white balance, ensuring true-to-life colors. Keep your lighting consistent by avoiding flickering or shifting light sources, which can distort color. Regularly check and adjust your settings, and consider using post-processing tools to fine-tune color accuracy, resulting in vibrant, accurate product photos.
Conclusion
With a 5-light setup, you’ll create consistently clean, professional product photos that boost sales. Some worry about the complexity, but once you understand the arrangement and adjust as needed, it becomes easy to get perfect shots every time. Don’t let initial doubts hold you back—practice makes perfect, and a well-lit product always stands out. Invest in your lighting, and watch your ecommerce photos transform into powerful, sales-driving images.