To laminate like a pro and avoid bubbles, wrinkles, and wasted sheets, always prepare your laminator by cleaning rollers and matching settings to your sheet type. Handle sheets carefully, align them precisely, and feed slowly to prevent air pockets. Use even pressure and steady movement for smooth results. Regular maintenance and proper cutting finish your project professionally. Keep practicing these techniques, and you’ll achieve flawless laminations every time. More expert tips follow to perfect your process.
Key Takeaways
- Match laminator settings to sheet thickness and type, run test sheets to fine-tune temperature and pressure.
- Handle sheets carefully, align precisely, and avoid fingerprints or debris before feeding into the laminator.
- Use even, moderate pressure during lamination to prevent air pockets, wrinkles, and bubbles.
- Regularly clean rollers and maintain equipment to ensure smooth operation and consistent heat distribution.
- Trim excess laminate carefully with sharp tools, and maintain proper material tension for a professional finish.
Prepare Your Laminator and Materials for Perfect Results
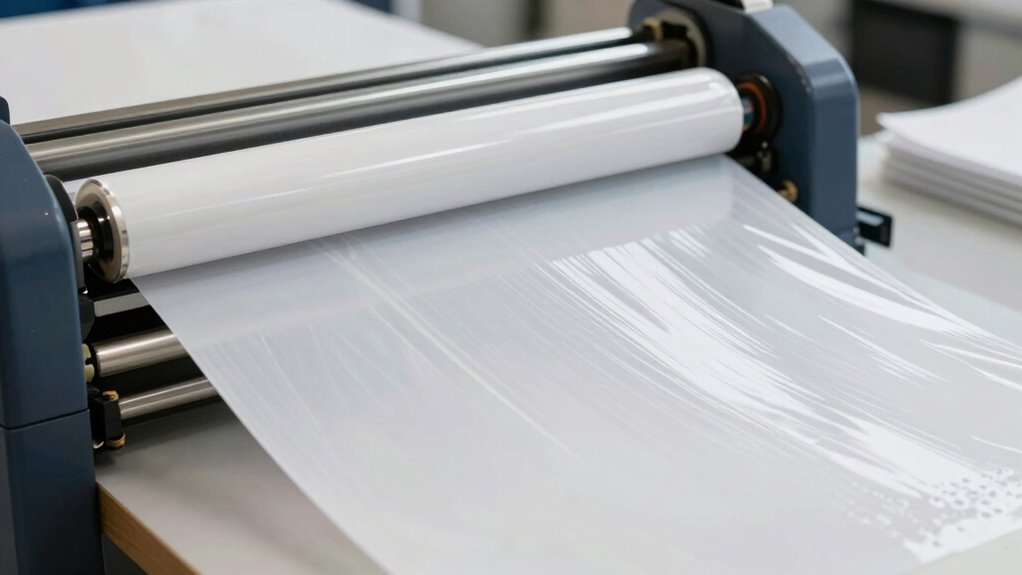
Before you begin laminating, it’s vital to prepare your laminator and materials to guarantee smooth results. First, ensure laminator safety by reading the manufacturer’s instructions and checking that the device is clean and free of dust or debris. Proper sheet storage is also essential; keep laminating sheets in a cool, dry place to prevent warping or damage. Organize your sheets so they’re easily accessible, reducing the risk of mishandling or mistakes during the process. Confirm that your laminator’s temperature and settings match the type of sheets you’re using. Taking these steps helps prevent common issues like jams or uneven lamination, giving you professional-looking results. Additionally, understanding filtration and suction basics can help maintain your laminator’s performance over time. Maintaining proper device maintenance routines can extend your laminator’s lifespan and ensure consistent quality. Regularly inspecting and cleaning the rollers can also prevent buildup that causes bubbles or wrinkles. To further improve your laminating results, paying attention to temperature regulation and adjusting settings accordingly can make a significant difference. Proper laminator calibration ensures even heat distribution and optimal sealing. Preparing thoughtfully minimizes waste and ensures your laminating experience is safe, efficient, and successful.
Choose the Best Laminating Sheets and Settings
The key to professional-looking laminations starts with selecting the right sheets for your project. You’ll also need to adjust your laminator’s settings to match the thickness and type of sheets you’re using. Getting these choices correct ensures smooth, bubble-free results every time. Understanding digital content can help you choose the most suitable laminating options for your specific project needs. Additionally, being aware of common cabling failures can prevent issues that might compromise the quality of your laminated documents.
Choosing the Right Sheets
Choosing the right laminating sheets is essential for achieving professional results and ensuring your documents stay protected. Proper sheet selection impacts durability and appearance, so consider material compatibility with your project. For instance, thicker sheets provide extra protection but may require slower feeding through your laminator. Matching sheet type with document material prevents issues like warping or bubbling. Here’s a quick guide:
| Document Type | Recommended Sheet Thickness | Material Compatibility |
|---|---|---|
| Photos | 3 mil | Inkjet, laser |
| Certificates | 5 mil | Standard paper |
| ID Cards | 7 mil | PVC, plastic sheets |
| Artwork | 10 mil | Heavy-duty laminates |
Select sheets carefully to avoid bubbles and wrinkles, ensuring a smooth, professional finish. Additionally, understanding laminating techniques can help you achieve the best results and extend the lifespan of your laminated items. Proper handling and lamination maintenance also play vital roles in preventing issues like bubbles and wrinkles over time. Being aware of mammography guidelines and techniques can also help in early detection of breast issues, ensuring proper screening for health.
Adjusting Laminating Settings
Selecting the right laminating settings is crucial to achieving a professional finish and preventing issues like bubbles, wrinkles, or jams. Properly adjusting temperature calibration ensures your laminator heats evenly, avoiding uneven sealing. Pressure adjustment is equally important; too much pressure can cause wrinkles, while too little may result in poor adhesion. To optimize your settings:
- Set the correct temperature based on your laminating sheet type.
- Calibrate your laminator’s temperature regularly for consistency.
- Adjust pressure to match the thickness of your sheet.
- Run test sheets to fine-tune temperature and pressure before full lamination.
Techniques for Bubble-Free, Smooth Lamination
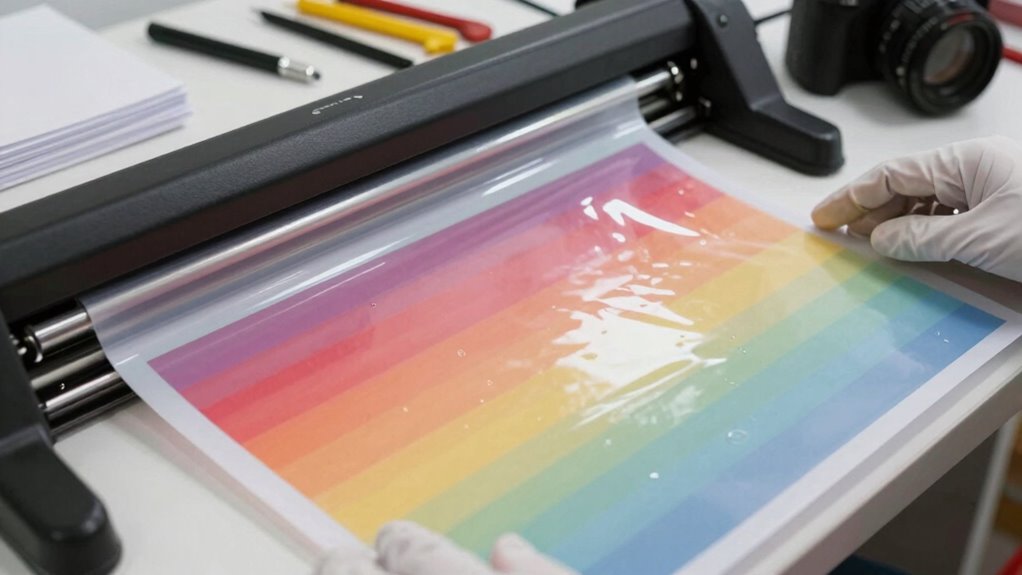
To achieve bubble-free, smooth lamination, start by handling your sheets carefully to prevent fingerprints and dust. Next, make certain your machine settings match the thickness of your material for even heat and pressure. Paying attention to these details helps you produce professional-looking results every time. Incorporating proper Free Floating techniques can further enhance your lamination process, especially when managing material tension to avoid wrinkles. Additionally, understanding lamination machine calibration can help you achieve optimal results consistently. Recognizing the importance of consistent pressure application ensures that your laminates remain smooth and free of bubbles, contributing to a polished finish. Understanding fandom’s past, present, and future can also inform your approach to creative projects, ensuring they resonate well with your audience.
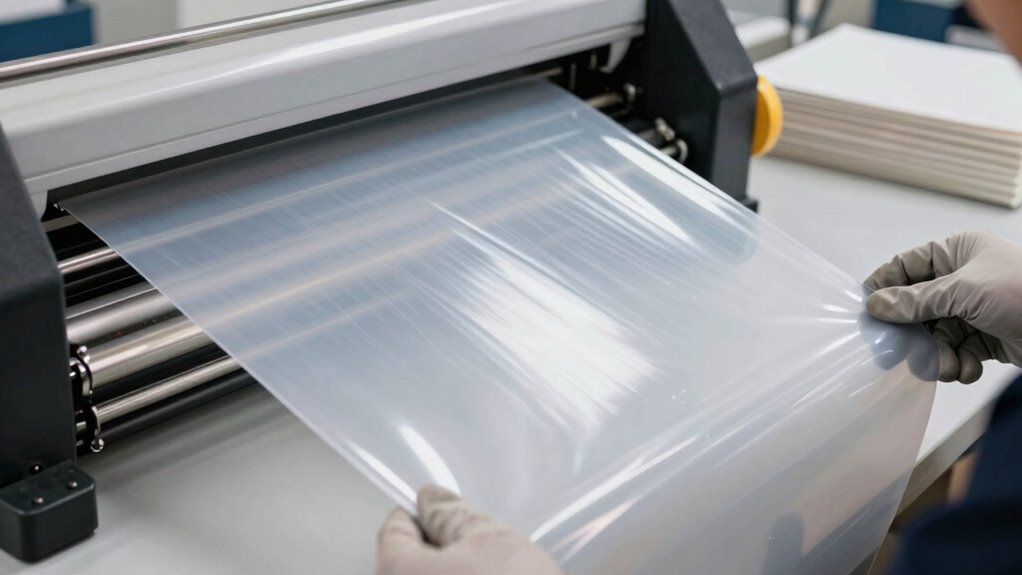
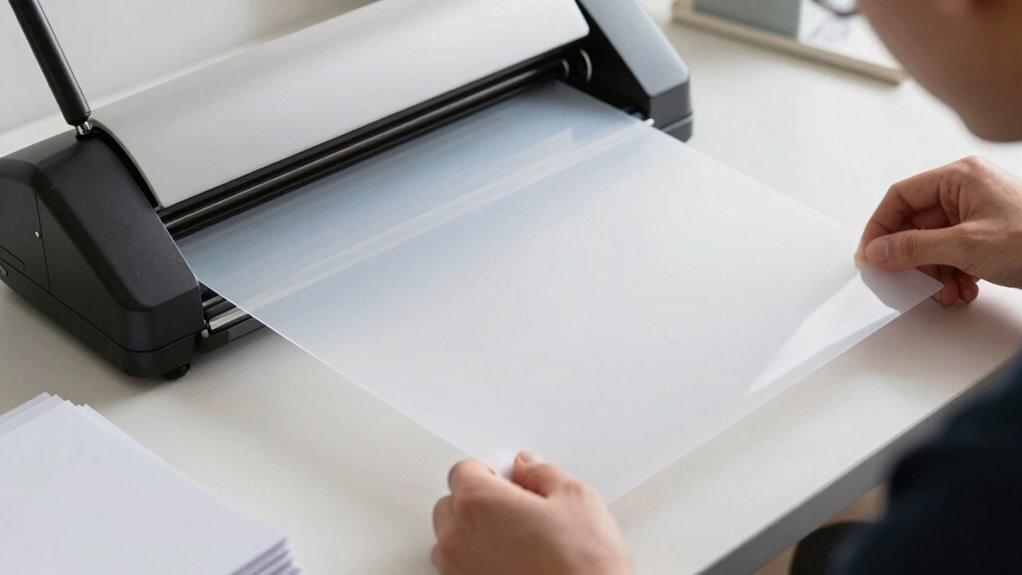
Proper Sheet Handling
Handling your sheets carefully is key to achieving a bubble-free, smooth lamination. Proper handling techniques prevent wrinkles and ensure correct sheet alignment, which is essential for a professional finish. First, always clean your working surface to remove dust and debris that can cause bubbles. Second, gently peel the backing paper to avoid creases and keep the sheet flat. Third, align the sheet carefully with the laminator’s entry point, using your hands to maintain proper sheet alignment throughout. Finally, manage sheets by the edges to prevent fingerprints or smudges that could mar the surface. Maintaining consistent pressure during lamination helps prevent air pockets and wrinkles, leading to a smooth, professional finish. These handling techniques help maintain consistent pressure and prevent air pockets, ensuring your lamination comes out smooth and bubble-free every time.
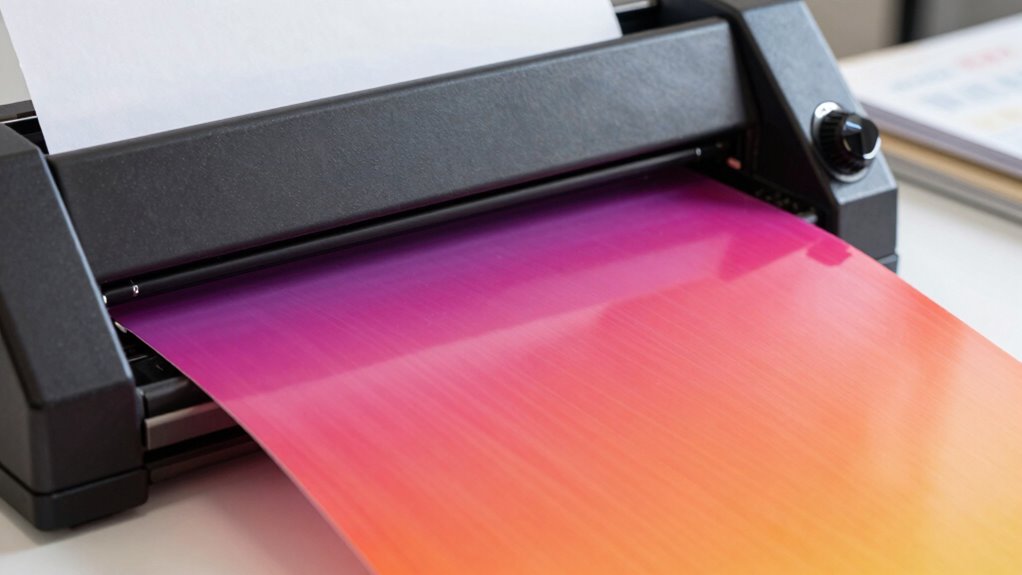
Correct Machine Settings
Getting your machine settings right is essential for achieving a smooth, bubble-free lamination. First, set the laminating speed to a moderate pace—going too fast can trap air, while going too slow might cause wrinkles. Adjust the temperature control according to the material’s requirements; too high, and the film may melt unevenly, creating bubbles, too low, and the adhesive won’t bond properly. Test your settings on a scrap sheet before starting your main project. Consistent speed and stable temperature help ensure even heat distribution, reducing the risk of bubbles and wrinkles. Remember, small adjustments can make a big difference, so monitor your results and fine-tune as needed. Proper machine settings are the key to professional, flawless lamination every time.
Common Mistakes That Cause Wrinkles and How to Avoid Them

One common mistake that causes wrinkles in laminated projects is applying too much heat or pressure at once. This can lead to sheet wrinkles and air bubbles trapped beneath the laminate. To avoid this:
Applying excessive heat or pressure causes wrinkles and trapped air in laminated projects.
- Use even, moderate pressure during lamination to prevent uneven stress.
- Ensure your sheets are perfectly aligned before sealing.
- Avoid rushing the process; work slowly and steadily.
- Check that your machine’s temperature settings match the laminate specifications.
- Using the correct laminate thickness can also help in achieving a smoother finish and prevent distortions.
- Be mindful of pressure distribution to ensure uniform application across the surface.
Applying excessive heat or pressure can distort the material and trap air, resulting in wrinkles and bubbles. Proper technique, patience, and correct settings are key to achieving a smooth, professional finish. Keep these tips in mind to avoid common mistakes that compromise your laminated projects.
Finishing Your Laminated Projects With a Clean Cut

Achieving a clean, professional finish on your laminated projects requires careful attention to how you cut the excess material. Proper edge trimming guarantees your laminated piece looks polished and neat. Use sharp scissors or a craft knife for precise cuts, avoiding jagged edges. Employ finishing techniques like trimming just outside the laminate’s border to prevent peeling or lifting. To help you get started, consider this guide:
| Technique | Description |
|---|---|
| Straight Cutting | Use a ruler for perfectly straight edges |
| Angled Trimming | Adds a clean, modern finish |
| Corner Trimming | Rounds or angles for a softer look |
| Bevel Edging | Creates a beveled edge for a sleek appearance |
| Overhang Removal | Cuts excess without damaging the design |
Additionally, always ensure your blades are sharp to maintain cutting precision and achieve the best results. These methods ensure your laminated projects look crisp and professional.
Troubleshooting Wavy or Wrinkled Laminates
Wavy or wrinkled laminates often result from improper handling or application techniques. To fix this, focus on pressure issues and material alignment. First, ensure your laminator is applying consistent, even pressure across the sheet. Second, double-check that your material is aligned properly before sealing—misalignment causes creases. Third, avoid rushing through the process; slow, steady feeding helps prevent wrinkles. Fourth, make sure the laminating sheets are free of dust and debris, which can cause uneven pressure. Properly managing pressure issues and keeping material aligned minimizes wrinkles and waves. Additionally, paying attention to humidity levels can prevent static and curling that contribute to uneven lamination indoor air quality. Ensuring optimal laminating environment can significantly improve results. Maintaining proper temperature and humidity in your workspace also helps prevent issues like static buildup and curling. Being mindful of static buildup can further help achieve a smooth finish. Mastering these steps will lead to smooth, professional-looking laminates every time.
Maintain Your Laminator for Consistent, Professional Results

Keeping your laminator in top shape guarantees consistent, professional results with each project. Regular laminator cleaning removes dust, adhesive buildup, and debris that can cause jams or bubbles. Focus on cleaning the rollers thoroughly to guarantee smooth, even lamination. Proper roller maintenance is essential; check for wrinkles or misalignments and adjust or replace rollers if needed. Lubricate moving parts as recommended by the manufacturer to prevent wear and tear. Always turn off and unplug your laminator before cleaning or maintenance. A well-maintained laminator reduces the risk of jams, wrinkles, and wasted sheets, saving you time and money. Consistent upkeep ensures your laminator performs at its best, delivering crisp, bubble-free laminations every time.
Frequently Asked Questions
What Types of Documents Are Best Suited for Lamination?
You should laminate documents that need increased durability and protection, like ID cards, menus, or certificates. These items benefit from enhanced document durability, resisting water, tears, and fading. Make sure your material is compatible with the lamination sheets to avoid damage or warping. By choosing the right documents and ensuring material compatibility, you’ll keep important papers protected and looking professional, whether for personal use or business purposes.
How Do I Prevent Static Buildup During Lamination?
To prevent static buildup during lamination, you should use anti-static sprays on your documents and laminator surfaces. Additionally, grounding methods like connecting the laminator to a grounded outlet or using anti-static wristbands help dissipate static. Keep your workspace humidified, as dry air increases static. These steps guarantee a smooth lamination process, reducing bubbles and wrinkles caused by static electricity.
Can I Laminate Irregularly Shaped or Small Items?
Yes, you can laminate irregularly shaped or small items. Use precise cutting techniques to shape your items before lamination, ensuring smooth edges. Opt for adhesive options like self-adhesive laminating sheets or edge sealing to keep tiny or uneven pieces secure. Carefully align your items on the laminator’s entry tray, and feed them slowly to avoid bubbles or wrinkles. Proper preparation and the right adhesive choices make laminating irregular shapes easy and professional-looking.
How Often Should I Clean and Maintain My Laminator?
You should clean your laminator regularly, ideally after every few uses, to prevent buildup and guarantee smooth operation. Follow a consistent maintenance schedule, including laminator cleaning with appropriate materials and checking the rollers for debris. This routine helps avoid jams and prolongs your device’s lifespan. By staying on top of maintenance, you’ll keep your laminator working efficiently and produce professional-looking results every time.
Is It Safe to Laminate Photos or Delicate Materials?
Coincidentally, laminating photos or delicate materials can be safe if you take proper precautions. You should use a laminator with adjustable heat settings and choose the right laminating pouches designed for delicate items. Always test a small, less valuable piece first to guarantee photo preservation and delicate material safety. Avoid excessive heat and pressure, and handle items gently to prevent damage. With care, lamination can protect and preserve your precious photos and fragile materials.
Conclusion
By preparing your laminator, choosing the right sheets, mastering smooth techniques, avoiding common mistakes, and maintaining your equipment, you set yourself up for success. Practice patience, pay attention to details, and stay consistent with your process. With these tips, you’ll create flawless, professional-looking laminates every time—free of bubbles, wrinkles, and waste. Keep learning, keep experimenting, and enjoy the satisfaction of perfect laminating, because every project is an opportunity to improve, to refine, and to shine.