
To record crisp audio at home, start by choosing a quiet space with minimal reflective surfaces and add soft furnishings like rugs and curtains to improve acoustics. Select a suitable microphone—USB for simplicity or XLR for quality—and position it close but not too near for clear sound. Use good recording software, set your levels correctly, and perform test recordings. Keep noise to a minimum with soundproofing, and if you follow these steps, you’ll discover how to get professional results.
Key Takeaways
- Prepare your space with sound-absorbing materials and minimize reflective surfaces to reduce echo.
- Choose a suitable microphone (USB or XLR) and position it close for clear sound without capturing unwanted noise.
- Use acoustic treatments like foam panels, rugs, and curtains to improve room acoustics.
- Set up recording software properly, calibrate input levels, and perform test recordings to ensure quality.
- Eliminate external noise sources by soundproofing your environment and turning off interfering electronics.

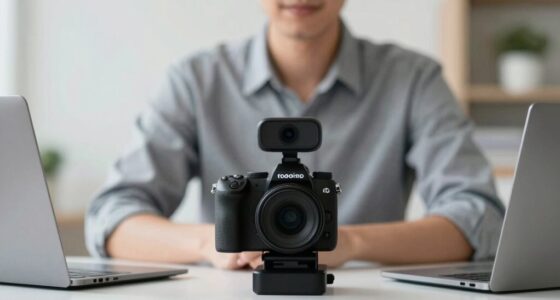
FIFINE USB Microphone, Metal Condenser Recording Microphone for MAC OS, Windows, Cardioid Laptop Mic for Recording Vocals, Voice Overs, Streaming, Meeting and YouTube Videos-K669B
[Convenient Setup] Plug and play recording USB microphone for PC, with 5.9-Foot USB cable included for computer PC…
As an affiliate, we earn on qualifying purchases.
As an affiliate, we earn on qualifying purchases.
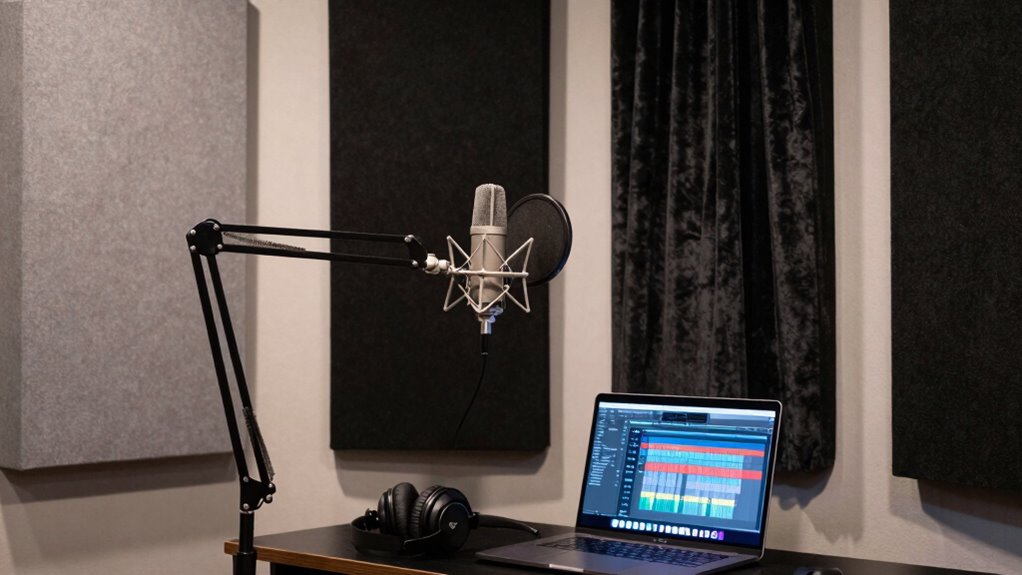
Assess Your Home Recording Space
Before you start recording, it’s essential to evaluate your home space to make sure it’s suitable for audio work. Focus on room acoustics, as they directly impact sound quality. Avoid rooms with too many reflective surfaces like bare walls or windows, which can cause echo and reverb. Instead, consider furniture placement to minimize sound issues—soft furniture, rugs, and curtains help absorb sound and improve acoustics. Position your desk and equipment away from corners or large empty spaces that may amplify sound reflections. Check for external noise sources, like traffic or appliances, and try to isolate your space as much as possible. Using soundproofing techniques can further enhance your environment, guaranteeing your space supports clear, professional-sounding recordings right from the start. Additionally, incorporating acoustic treatments can significantly reduce unwanted background noise and improve overall sound clarity. Properly space planning is crucial to optimize your recording area and prevent sound issues. Remember, the right home recording setup can make a substantial difference in achieving high-quality audio, and implementing noise reduction methods can help maintain a quiet environment essential for crisp recordings.

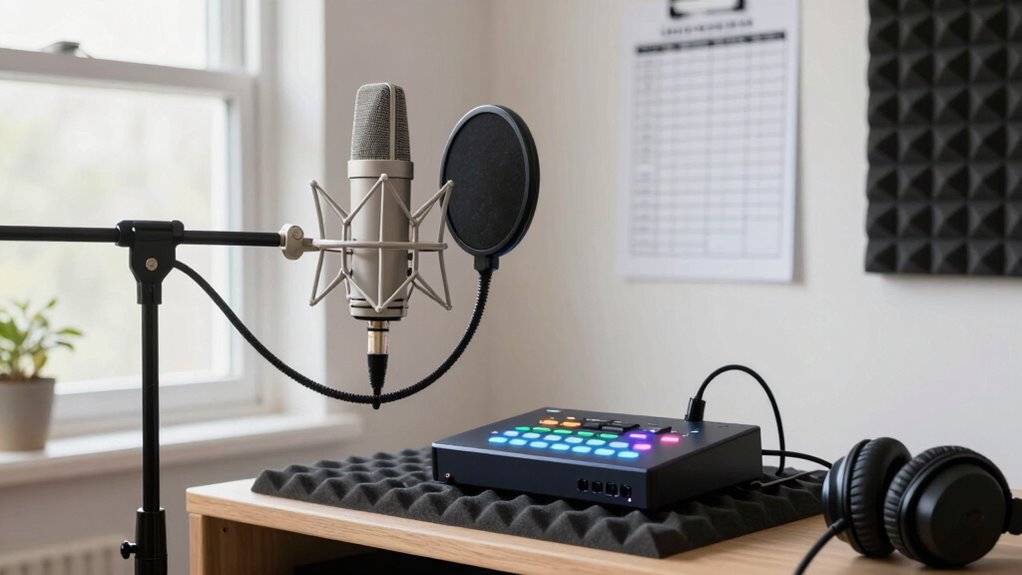
Focusound 52 Pack Acoustic Foam Panels 1" x 12" x 12" Sound Proof Foam Panles Soundproofing Noise Cancelling Wedge Panels for Home Office Recoding Studio with 300PCS Double-Side Adhesive
Soundproofing – Acoustic foam panels triangular grooves structure for better noise absorption, helps to reduce and absorb unwanted…
As an affiliate, we earn on qualifying purchases.
As an affiliate, we earn on qualifying purchases.
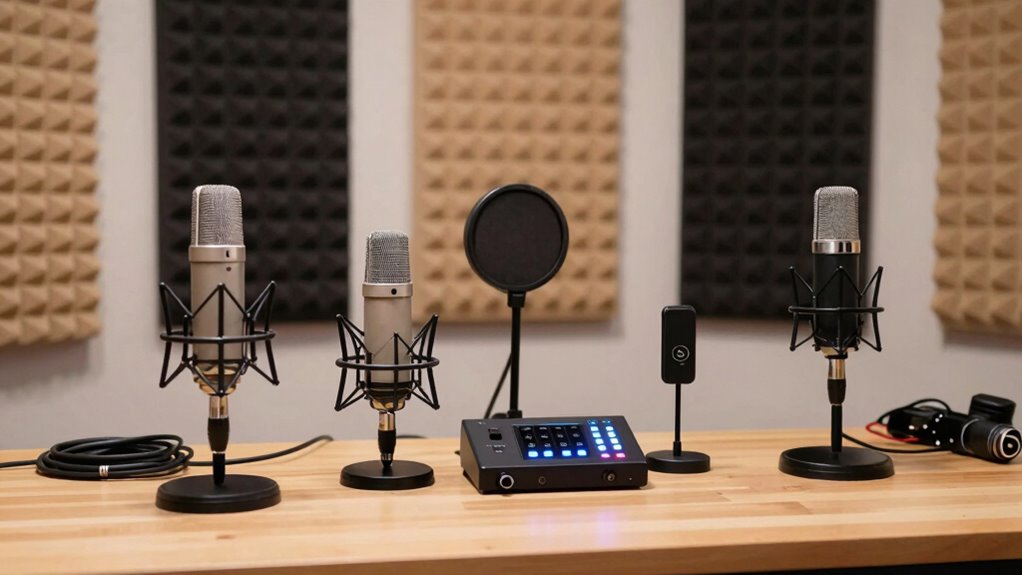
Choose the Right Microphone for Your Home Setup
Choosing the right microphone depends on understanding the different types available and how they connect to your devices. You should consider whether a dynamic, condenser, or lavalier mic best suits your recording needs. Ensuring compatibility with your setup is key to getting clear, professional sound. Additionally, understanding the different dog breeds can help you select the appropriate equipment for recording your pet’s sounds if you plan to include their audio. When selecting a microphone, paying attention to audio input options ensures seamless integration with your existing home recording system. Recognizing audio quality factors can also aid in choosing a device that captures crisp, clear audio suitable for your projects. For beginners, it’s helpful to explore microphone polar patterns to better understand how each type captures sound from different directions. Being aware of the high-tech vaping innovations can inspire you to explore modern, smart equipment that enhances overall recording quality.
Microphone Types Explained
Understanding the different types of microphones is essential for setting up a quality home recording system. Microphone types mainly fall into two categories: condenser and dynamic. Condenser microphones excel at capturing detailed, nuanced sound and often feature multiple polar patterns, like cardioid or omnidirectional, making them versatile for various recording situations. When choosing between condenser vs. dynamic, consider your recording needs, environment, and budget. Condensers are better for studio-quality vocals and instruments, while dynamics are great for capturing loud sounds and minimizing ambient noise in less controlled spaces. Additionally, understanding measurement accuracy in audio equipment can help you select microphones that deliver the most precise sound reproduction for your setup. Selecting the right microphone also involves considering frequency response, which impacts how well it captures different sound ranges and textures. Being aware of polar pattern diversity can further help tailor your microphone choice to specific recording scenarios and environments.
Compatibility With Devices
Selecting a microphone that works seamlessly with your home setup is essential for achieving clear recordings. You need to take into account device compatibility to ensure the microphone works with your computer, audio interface, or recording device. Check the connection options available—USB, XLR, or 3.5mm jack—and confirm they match your equipment. USB microphones are plug-and-play and ideal for beginners, while XLR mics often require an audio interface but offer higher quality. Some microphones may need specific drivers or software, so verify compatibility before purchasing. By choosing a microphone with compatible connection options and confirming device compatibility, you’ll avoid frustration and ensure your setup is ready to record crisp, professional audio at home. Additionally, understanding digital content formats can help you optimize your recordings for various platforms.

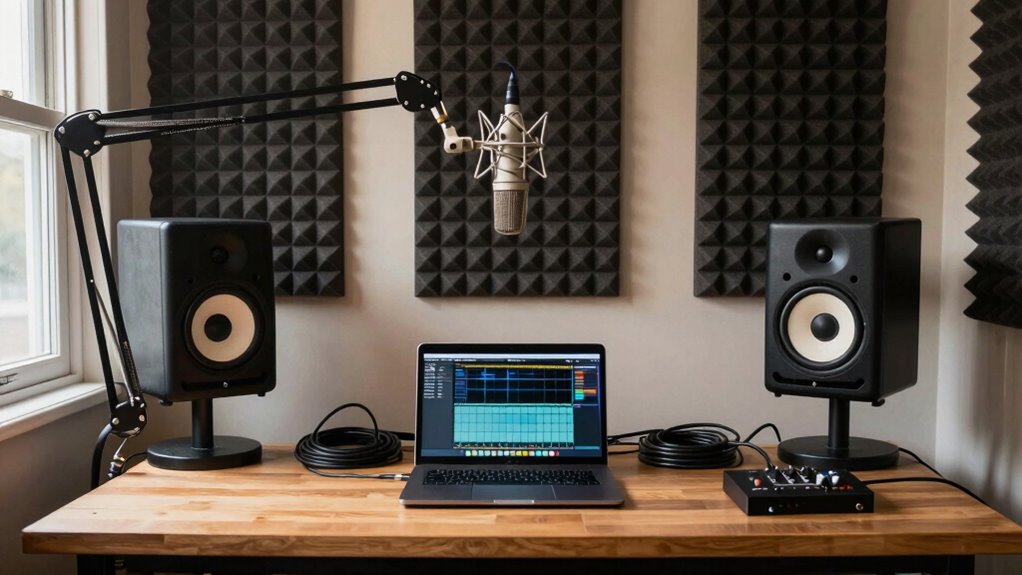
Primacoustic London 8 – Grey
Acoustic Room Treatment Kit with Four Control Columns
As an affiliate, we earn on qualifying purchases.
As an affiliate, we earn on qualifying purchases.
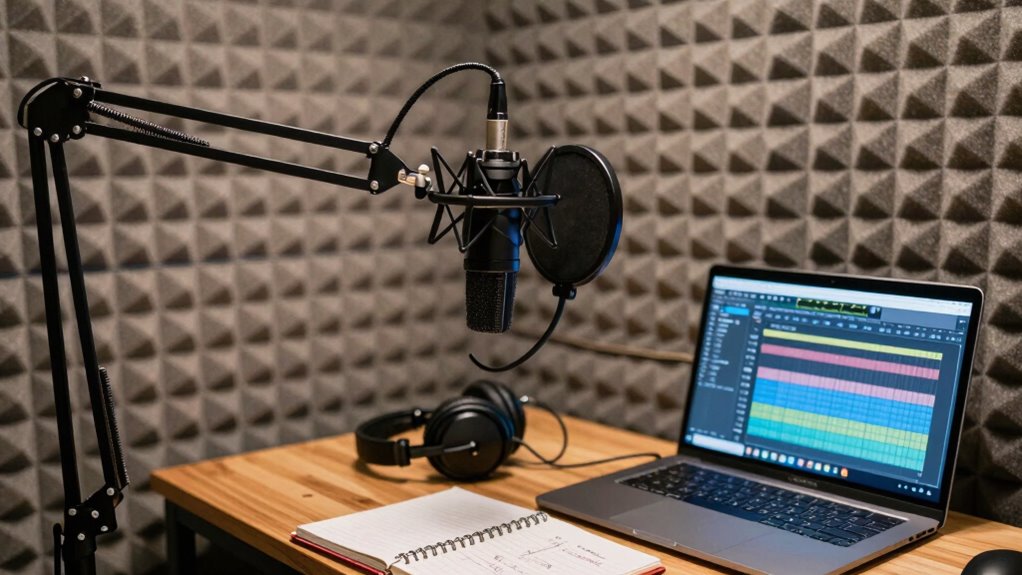
Set Up Your Recording Area for Better Sound
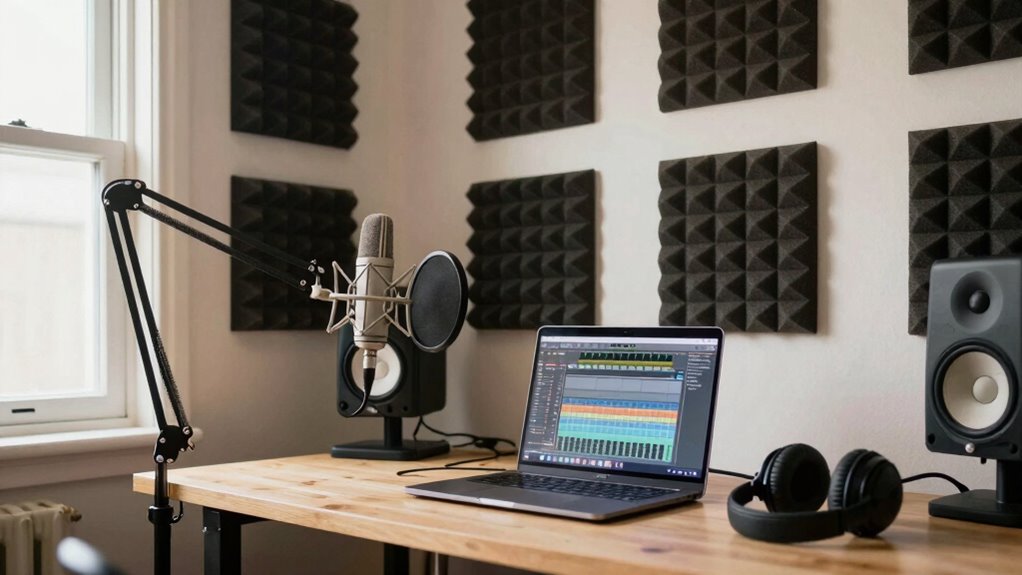
Your recording environment plays a crucial role in capturing clear, high-quality sound. Focus on improving room acoustics by choosing a space with soft surfaces like carpets, curtains, or foam panels to reduce echo and background noise. Avoid large, empty rooms that cause sound reflections, which can muddy your recordings. Position yourself away from windows, appliances, or busy areas to minimize background noise. Use a closet filled with clothes or a small, furnished corner to naturally dampen sound reflections. Keep your space quiet during recording sessions, turning off fans or electronics that create noise. Additionally, consider implementing solar system safety measures such as ensuring electrical installations are properly grounded to prevent unwanted noise interference. Proper room acoustics and insulation can significantly enhance your audio quality. By optimizing your recording area, you’ll achieve crisper, more professional audio without investing in expensive equipment. Proper setup ensures a cleaner sound from the start. Incorporating soundproofing techniques, like sealing gaps and adding acoustic panels, can further improve your recording environment. Enhancing room sound absorption helps eliminate echoes and creates a more controlled acoustic space. To further optimize your setup, pay attention to room acoustics principles to minimize sound distortions and reflections.

RØDE PodMic Cardioid Dynamic Broadcast Microphone — XLR Output, Requires Audio Interface (RØDECaster, AI-1, or similar). For USB Plug-and-Play, see PodMic USB.
**XLR CONNECTION ONLY — REQUIRES AN AUDIO INTERFACE.** Does NOT plug directly into a computer via USB. Pair…
As an affiliate, we earn on qualifying purchases.
As an affiliate, we earn on qualifying purchases.
Install and Configure Your Recording Software
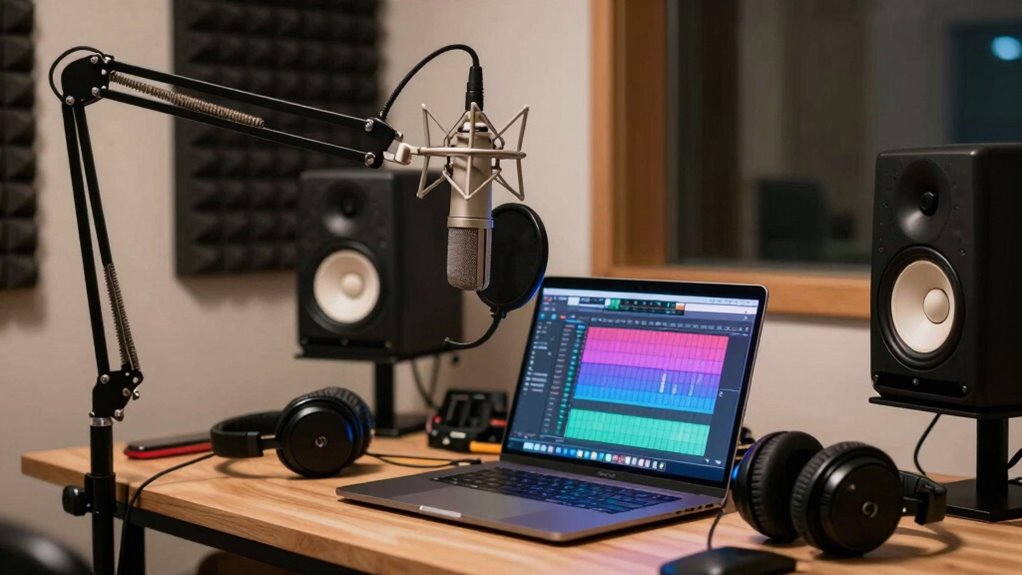
Start by choosing recording software that fits your needs and skill level. Once installed, adjust the basic settings like input levels and file formats to guarantee your recordings will be clear. Finally, do a quick test recording to check the sound quality and make any necessary tweaks. Incorporating sound quality standards into your setup can help ensure your audio recordings meet global expectations. Additionally, paying attention to proper equipment maintenance can prolong your gear’s lifespan and improve overall audio clarity.
Choose Suitable Software
Choosing the right recording software is a crucial step that can considerably impact the quality of your audio projects. When exploring software options, look for programs that are user-friendly but also offer robust editing tools. Some popular choices include Audacity, GarageBand, and Reaper, which cater to different skill levels and budgets. Consider whether the software supports your operating system and offers features like multi-track recording and real-time monitoring. The right software should allow you to record clean audio and give you enough flexibility to edit later. Take some time to explore tutorials and reviews to find one that fits your needs. Once selected, install and familiarize yourself with the software’s interface to streamline your recording process. Voice over techniques can help ensure your writing remains clear and engaging.
Adjust Basic Settings
Once you’ve selected your recording software, the next step is to install and configure it properly. Connect your audio interface to your computer and set it as the default input device in your software settings. This guarantees high-quality audio capture and reduces latency. Adjust your input levels carefully—too high causes distortion, too low results in weak sound. Pay attention to microphone placement, positioning it close enough to capture clear sound without picking up unwanted noise. In your software, set the sample rate and bit depth according to your needs—typically 44.1kHz and 24-bit are sufficient for most projects. These basic settings create a solid foundation for crisp, professional audio recordings at home.
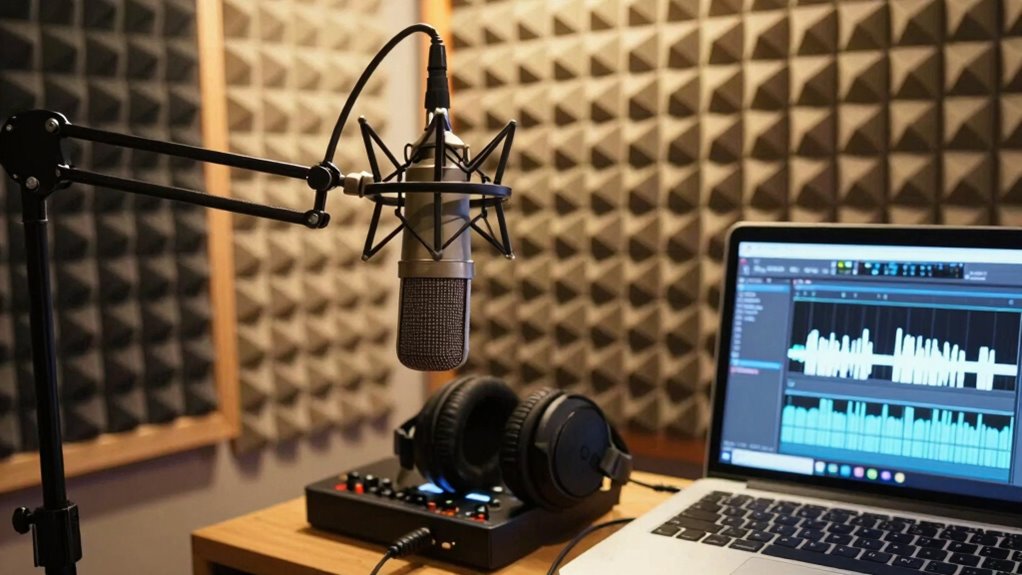
Test Recording Quality
After installing and configuring your recording software, it’s time to verify that everything works as intended. Do a test recording to check sound quality, paying attention to background noise and microphone placement. Proper placement reduces unwanted noise and captures your voice clearly. Listen carefully to your sample, noting any background distractions or muffled sounds. Adjust your mic position if needed—closer to your mouth usually improves clarity. Use the table below to compare different setups:
| Microphone Placement | Background Noise Level | Sound Clarity |
|---|---|---|
| Near mouth | Minimal | Crisp and clear |
| Too far away | High background noise | Muffled or distant |
| Off to the side | Uneven sound capture | Unbalanced sound |
| Closer to wall | Echo or reverb | Unnatural tone |
| Moving around | Inconsistent sound | Unstable quality |
Testing helps fine-tune your setup for best audio quality.
Test Your Audio and Make Final Adjustments
How can you guarantee your audio recordings sound professional? Start with proper audio calibration, ensuring your equipment levels are balanced and consistent. Perform a final sound check by recording a short test clip, then listen carefully through headphones or speakers. Pay attention to clarity, volume, and any background noise or distortion. Adjust microphone positioning, gain settings, or EQ as needed to improve sound quality. Focus on achieving a clear, natural tone without clipping or muffling. When you’re satisfied with the recording, it’s time to finalize your adjustments. This step helps catch issues before your main recording, saving time and ensuring a polished result. Remember, a well-executed final sound check makes a significant difference in delivering crisp, professional audio.
Minimize Noise and Common Home Recording Issues
To achieve clean, professional-sounding recordings at home, you need to actively minimize noise and address common issues that can compromise sound quality. Start by installing soundproof curtains to block external noise and reduce echo, especially if your room has large windows. Adding noise canceling panels to walls helps absorb unwanted sounds and minimizes room reverberation. Keep your recording space organized and free of clutter that can create additional noise. Turn off or unplug appliances and electronics that generate background hum or buzz during recordings. Seal gaps around doors and windows to prevent outside noise from seeping in. Using these strategies, you’ll create a quieter environment, ensuring your audio recordings sound clear, crisp, and professional.
Enhance Your Audio With Basic Editing Tips
Enhancing your audio with basic editing techniques can considerably improve the overall quality of your recordings. Simple audio editing can remove background noise, tighten up timing, and boost sound clarity. To get started, focus on these sound enhancement tips:
- Use noise reduction tools to eliminate unwanted background sounds.
- Apply equalization (EQ) to balance frequencies and make your voice clearer.
- Compress your audio to smooth out volume levels and add consistency.
These steps help refine your audio and make it more professional. Basic audio editing doesn’t require advanced skills—just patience and attention to detail. By mastering these sound enhancement techniques, your recordings will sound cleaner, clearer, and more engaging for your audience.
Frequently Asked Questions
How Can I Improve My Home Recording Acoustics Without Professional Help?
You can improve your home recording acoustics easily by adding soundproof curtains to block external noise and reduce echo. DIY acoustic panels made from affordable materials like foam or thick blankets also work well to absorb sound reflections. Position these panels strategically around your recording space, especially behind and beside your microphone, to enhance clarity. These simple upgrades make a noticeable difference without professional help.
What Budget-Friendly Equipment Options Exist for Beginners?
Looking to upgrade your setup without breaking the bank? You can find budget microphones that deliver surprisingly clear sound, perfect for beginners. Pair them with affordable soundproofing options like foam panels or DIY solutions to tame echo and noise. These choices keep costs low while markedly improving your audio quality. Don’t wait—start exploring these budget-friendly options today and transform your home recordings into professional-sounding projects.
How Do I Prevent Echo and Reverb in My Recordings?
To prevent echo and reverb, you should focus on soundproofing techniques and acoustic treatment. Use foam panels, bass traps, or even thick blankets to absorb excess sound reflections. Place furniture and rugs strategically to dampen sound bouncing around your space. Additionally, position your microphone away from walls and reflective surfaces. These steps help create a controlled environment, making your recordings clearer and more professional.
What Are Common Mistakes to Avoid When Recording at Home?
You might think placing your mic anywhere is fine, but poor microphone placement and ignoring room reflections are common mistakes. Avoid recording in echo-prone spaces; instead, position your mic carefully and use soft furnishings to dampen reflections. Don’t overlook how room reflections distort your sound. Keep your mic at the right distance, and test different placements—these small tweaks prevent big audio issues and make your recordings clearer and more professional.
How Often Should I Upgrade or Replace My Home Recording Gear?
You should consider upgrading your gear every 2 to 3 years, depending on usage and advancements. Regular gear maintenance helps identify when upgrades are needed; look for signs like outdated technology, persistent issues, or performance decline. Upgrading timing is vital to guarantee your recordings stay crisp and professional. Stay informed about new gear releases, and don’t hesitate to replace equipment that no longer meets your quality standards or hinders your workflow.
Conclusion
So, there you have it — your foolproof plan to turn your cozy closet into a Grammy-worthy studio. Just remember, no matter how many gadgets or soundproof curtains you buy, true audio magic happens when you hit record and keep those pesky background noises at bay. With a bit of practice, you’ll be surprising everyone (including yourself) with crisp, professional sound — all from the comfort of your home. Who knew recording could be this easy?