
To get better calls in 10 minutes, start by identifying and fixing echo issues with simple room tweaks like adding soft materials or soundproof curtains. Choose a microphone that’s suited to your environment, either USB or dynamic, and position it close and away from reflective surfaces. Arrange your speakers at ear level and away from walls. Use your software’s noise suppression features, test your setup, and keep your equipment clean. Keep going to discover more quick tips for a crystal-clear home office sound.
Key Takeaways
- Detect and fix room echo by adding soft materials like rugs, curtains, and acoustic panels.
- Use close-microphone placement and noise suppression features in software for clearer audio.
- Position speakers at ear level and away from reflective surfaces to improve sound clarity.
- Regularly maintain equipment and organize cables to ensure consistent, high-quality sound.
- Minimize background noise with soundproofing, quiet environments, and muting when not speaking.

CMTECK USB Computer Microphone G009, Noise-Cancelling Recording Desktop Mic for PC/Laptop for Online Chatting, Home Studio, Podcasting, Gaming, Skype, YouTube with Mute Function(Windows/Mac)
【Crystal Clear Audio Quality】Our Cardioid pattern condenser microphone accurately captures your voice, making it perfect for dictation, online…
As an affiliate, we earn on qualifying purchases.
As an affiliate, we earn on qualifying purchases.
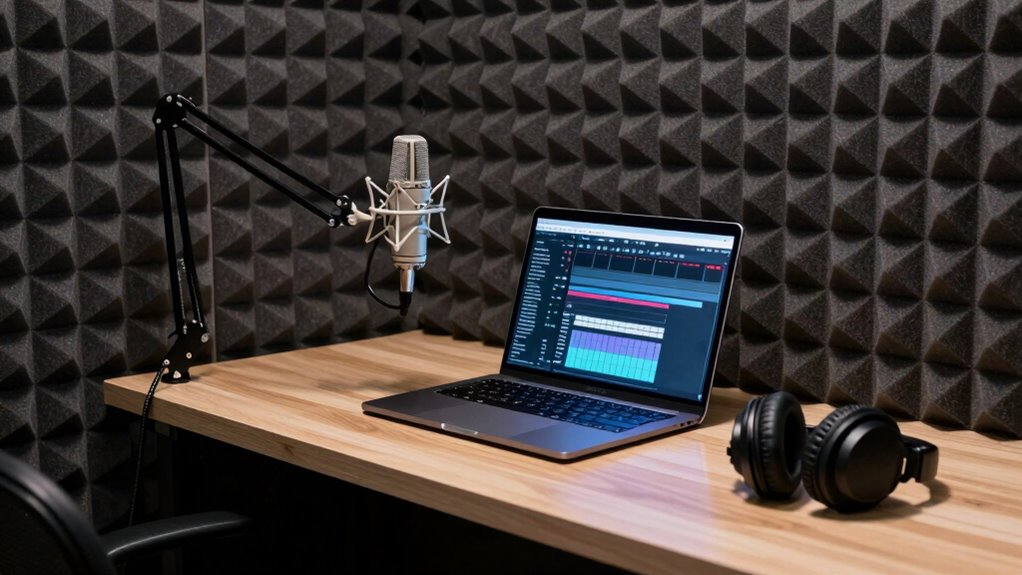
Detect and Fix Echoes in Your Home Office

Echoes can make your home office sound hollow and distracting, but you can identify and fix them quickly. Start by listening carefully during a call or recording to detect echo issues. Excessive background noise can worsen the problem, so reduce clutter and noisy appliances. Proper microphone placement is key: keep your mic close to your mouth and away from reflective surfaces like windows or walls. Avoid placing it directly facing hard, echo-prone surfaces that bounce sound around the room. If echoes persist, consider adding soft materials like rugs, curtains, or foam panels to absorb sound. Additionally, using measurement tools such as sound level meters can help you evaluate room acoustics more precisely. Understanding room acoustics can guide you in making effective adjustments, especially when selecting appropriate sound-absorbing materials for your space. Being aware of sound reflection principles can further enhance your ability to create an optimal audio environment. Incorporating proper room layout strategies can also help minimize sound bouncing and improve clarity. These simple adjustments can drastically improve your audio quality, making your calls clearer and more professional without requiring complex equipment or large investments.

RYB HOME Soundproof Curtains 84 inches – 3 Layers Blackout Curtains Noise Cancelling Thermal Insulted Drapes for Door Window Living Room Nursery Divider Drapes, W 52 x L 84 inch, Gray, 1 Pair
3 LAYERS – Package includes 2 panels total width 104 inch. 1 layer in front (grey), 1 layer…
As an affiliate, we earn on qualifying purchases.
As an affiliate, we earn on qualifying purchases.
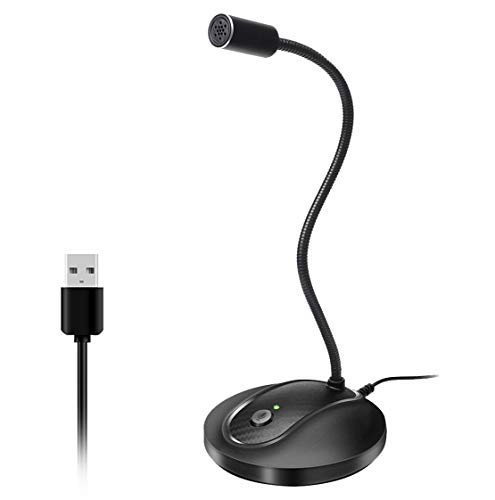
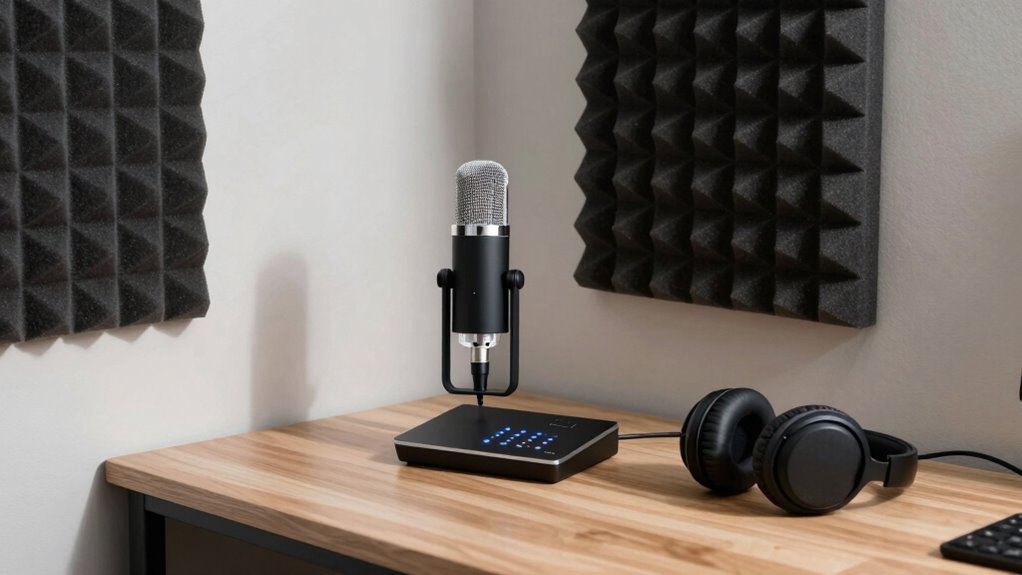
Choose the Best Microphone for Clear Calls

Choosing the right microphone can make a significant difference in the clarity and quality of your calls. There are various microphone types, each suited to different needs. For clear calls, a USB microphone is convenient and easy to set up, offering good audio quality without extra equipment. If you want higher audio quality, consider an XLR microphone, which provides richer sound but requires an audio interface. Condenser microphones capture detailed sound, ideal for quiet environments, while dynamic microphones are better at rejecting background noise, great for noisy spaces. Your choice depends on your environment and budget, but investing in the right microphone guarantees your voice comes through clearly, reducing misunderstandings and improving your overall communication during calls. Additionally, understanding hidden foodie gems in your area can make your calls more engaging if you’re discussing local discoveries or planning your next trip. Being aware of microphone settings can help optimize your audio quality and ensure your voice is captured accurately. Proper microphone positioning also plays a crucial role in achieving the best sound quality by minimizing unwanted noise and echo. For example, selecting a microphone with noise-cancelling features can significantly enhance call clarity in challenging environments. Recognizing the importance of cultural artifacts like Indonesian masks can also inspire unique conversations and enrich your virtual meetings with cultural insights.

Focusound 52 Pack Acoustic Foam Panels 1" x 12" x 12" Sound Proof Foam Panles Soundproofing Noise Cancelling Wedge Panels for Home Office Recoding Studio with 300PCS Double-Side Adhesive
Soundproofing – Acoustic foam panels triangular grooves structure for better noise absorption, helps to reduce and absorb unwanted…
As an affiliate, we earn on qualifying purchases.
As an affiliate, we earn on qualifying purchases.
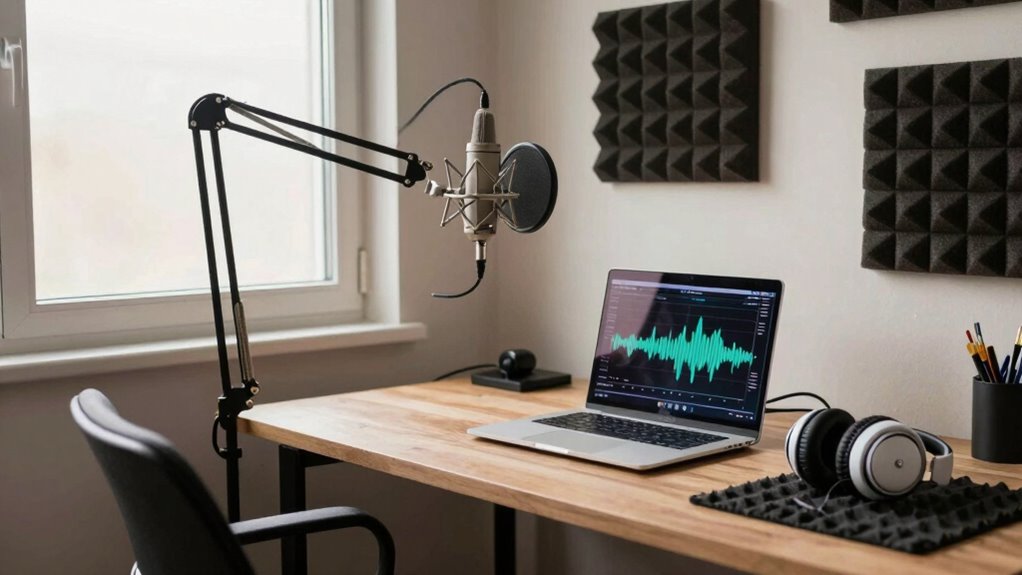
Arrange Your Desk to Minimize Sound Reflection

To reduce sound reflection, start by positioning your speakers away from walls and reflective surfaces. Adding sound absorbers like foam panels or cushions can also help dampen echo. Incorporating soundproofing materials such as acoustic panels or bass traps can further enhance sound quality. Using vintage audio techniques or retro-inspired accessories can also improve the warmth and character of your audio environment. These adjustments make your calls clearer and more professional.
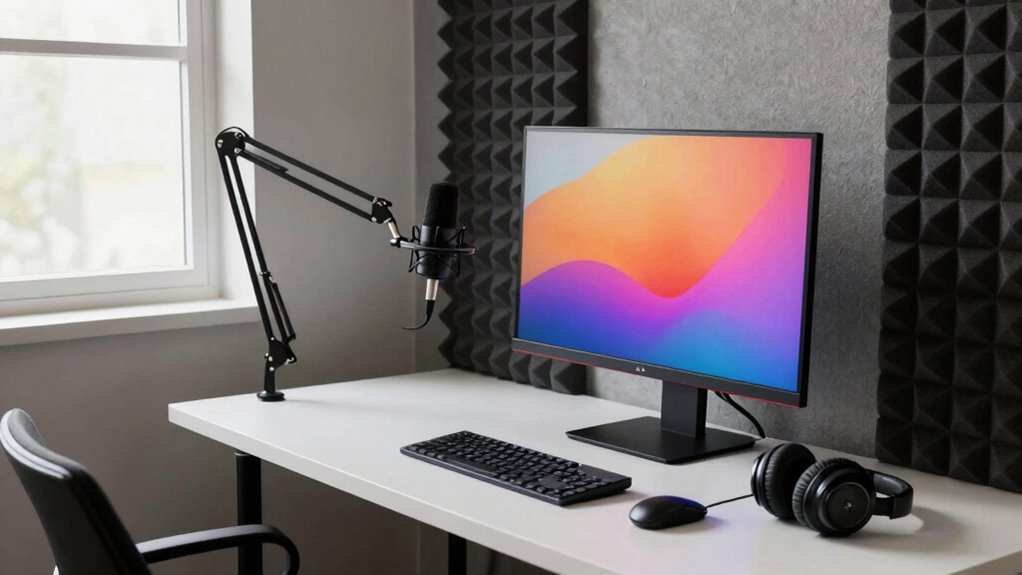
Position Speakers Strategically
Positioning your speakers correctly can considerably reduce sound reflections that distort audio quality. Proper speaker placement ensures your voice sounds clear and natural during calls. Keep the speakers at ear level and form an equilateral triangle with your head for ideal sound. Avoid placing them directly against walls, as this worsens room acoustics. Instead, position them slightly away from surfaces to minimize echoes. Use the table below to guide your setup:
| Speaker Placement Tip | Why It Matters | Best Practice |
|---|---|---|
| Keep speakers at ear level | Reduces reflection | Use stands or shelves |
| Form an equilateral triangle | Improves sound clarity | Position speakers 2-3 ft apart |
| Avoid wall proximity | Prevents echo | Place speakers 1 ft from walls |
| Angle speakers toward you | Focuses sound | Slightly tilt inward |
| Keep a distance from reflective surfaces | Enhances room acoustics | Use furniture or decor |
Tweaking speaker placement makes a noticeable difference in audio quality. Additionally, understanding room acoustics can help you optimize your setup further, especially when considering sound reflection and how it affects overall clarity. Properly managing home office acoustics is essential for clear communication and reducing background noise. Also, adjusting speaker orientation can further improve sound dispersion and minimize unwanted reflections.
Use Sound Absorbers
Arranging your desk with sound absorbers helps reduce unwanted echoes and sound reflections that can muddy your voice during calls. Start by adding foam panels to the walls behind and around your workspace; they absorb sound waves and minimize reflections. Hang soundproof curtains over windows and even along walls to further dampen echoes, especially in open rooms. Positioning these sound absorbers strategically ensures your voice stays clear and focused. Foam panels are lightweight and easy to install, making them a quick fix for acoustic issues. Soundproof curtains can be drawn when you need extra silence or to block external noise. Combining these solutions creates a controlled environment, helping your voice come through crisp and professional without echo or background noise.
JOUNIVO USB Microphone, 360 Degree Adjustable Gooseneck Design, Mute Button & LED Indicator, Noise-Canceling Technology, Plug & Play, Compatible with Windows & MacOS
360 Degree Position Adjustable Gooseneck Design –Plug and play USB microphone Pick up the sound from 360-degree with…
As an affiliate, we earn on qualifying purchases.
As an affiliate, we earn on qualifying purchases.
Add Acoustic Panels or DIY Sound Absorbers to Reduce Echo
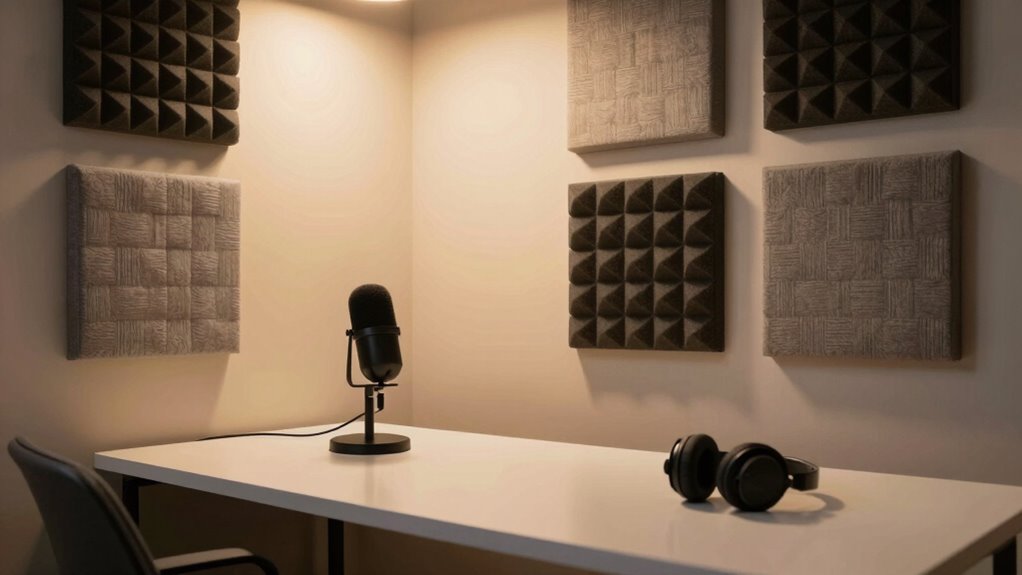
Adding acoustic panels or DIY sound absorbers is an effective way to cut down echo and improve sound quality in your space. You can craft your own using DIY foam or install acoustic tiles on your walls. DIY foam panels are affordable and easy to customize; simply cut the foam to size and mount it in key areas where sound bounces most. Acoustic tiles, on the other hand, come in various designs and can be arranged creatively to enhance both sound absorption and aesthetics. Placing these panels strategically reduces reflective surfaces, making your home office quieter and clearer during calls. Incorporating sound vibrations can further enhance cellular regeneration and overall health, contributing to a more comfortable environment. Using durable materials ensures your soundproofing solutions last over time. Selecting high-quality soundproofing materials can significantly improve the effectiveness of your setup. Proper installation techniques can maximize sound absorption and prevent gaps that reduce effectiveness. Additionally, choosing eco-friendly acoustic solutions can help minimize environmental impact while maintaining effective soundproofing. This simple upgrade makes a noticeable difference without needing complex equipment or professional installation. It’s an effective, budget-friendly way to create a more professional sound environment.
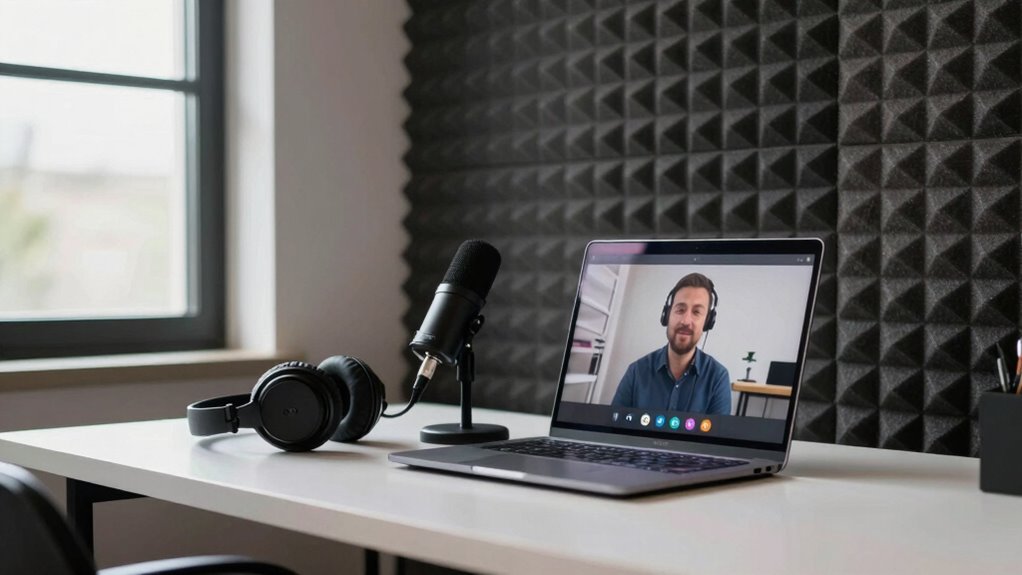
Adjust Software Settings for Better Audio Clarity
To improve your audio clarity during calls, tweaking your software settings can make a vital difference. Start by exploring your communication app’s audio options and adjust the input and output levels to guarantee clear sound without distortion. Use software tweaks like enabling noise suppression and echo cancellation features, which can reduce background noise and echo artifacts. Fine-tuning your equalizer settings is also essential; boost mid-range frequencies for clearer voice and reduce bass or treble that may cause muddiness. Many apps offer built-in equalizers or third-party plugins—use them to customize your sound profile. Additionally, considering the use of essential oils for respiratory health, such as eucalyptus or peppermint, can create a more comfortable environment that minimizes breathing difficulties during calls. Remember, small adjustments can greatly enhance clarity, so test different configurations until your voice sounds natural and free of distracting noise.
Test and Fine-Tune Your Setup for Optimal Sound
Testing and fine-tuning your setup is essential to achieve the best sound quality during calls. Start by checking for background noise that could disrupt clarity. Use noise-canceling features or reposition yourself to quieter areas if needed. Make sure your microphone and speakers are properly calibrated and test them with a quick call or recording. Internet stability also impacts audio quality—run a speed test to confirm your connection is steady, ideally with minimal ping and consistent bandwidth. If you experience lag or dropouts, consider connecting via Ethernet or improving your Wi-Fi signal. Small adjustments like adjusting microphone sensitivity and speaker volume can also make a difference. Regular testing guarantees your setup remains optimized, giving you clear, professional audio every time. Understanding Gold IRA Markets can also help you make informed investment choices for your financial future.
Keep Your Equipment in Top Shape for Consistent Quality
Keeping your equipment in top shape is essential for maintaining consistent call quality. Proper microphone placement ensures your voice is clear and reduces the chance of background noise interfering with the sound. Position your microphone at a consistent distance and angle, avoiding areas prone to echo or noise reflection. Regularly check for dust or debris that can affect sound quality, and clean your equipment as needed. Keep cables organized and secure to prevent static or disconnections. Be mindful of background noise sources, and use noise-canceling features or physical barriers to minimize their impact. Consistent maintenance and careful placement help your microphone perform reliably, guaranteeing your calls remain clear and professional every time.
Quick Tips to Improve Call Sound During Meetings
During meetings, clear audio is essential for effective communication, and small adjustments can make a big difference. To improve your call sound, start by minimizing background noise—use noise-canceling headphones or choose a quiet spot. Check your microphone settings and verify your microphone isn’t picking up unnecessary sounds. Also, be mindful of your internet bandwidth; a stable connection reduces audio lag and dropouts. Close unnecessary applications that may consume bandwidth or cause interruptions. If your internet is slow, consider connecting via Ethernet for a more reliable connection. Additionally, ask participants to mute themselves when not speaking to cut down on background noise for everyone. These quick tips help ensure your audio remains clear and professional during every meeting.
Frequently Asked Questions
How Often Should I Replace or Upgrade My Home Office Audio Equipment?
You should consider replacing or upgrading your home office audio equipment every 3 to 5 years, depending on its audio equipment lifespan and your usage. Regular upgrades guarantee you benefit from improved sound quality and newer technology. If your equipment shows signs of wear, poor sound quality, or becomes outdated, it’s time for an upgrade. Staying current helps maintain clear communication and peak audio performance during your calls.
What Common Mistakes Cause Echo or Poor Sound Quality During Calls?
You might notice echo or poor sound quality when you overlook soundproofing techniques or misplace your microphone. It’s a coincidence that poor microphone positioning often causes audio issues, so always keep it close and aimed at your mouth. Avoid hard surfaces that reflect sound, and add soft materials like rugs or curtains to absorb echoes. Proper setup guarantees clear calls without distractions, making your audio experience much better.
Can Specific Furniture Choices Impact Sound Reflection in My Home Office?
Your furniture choices considerably impact sound reflection in your home office. Opt for furniture arrangement that breaks up flat surfaces, like placing bookshelves or soft chairs strategically. Adding acoustic panels can absorb excess echoes, improving sound quality. Avoid large, hard furniture directly facing your microphone, as they reflect sound. Instead, position furniture to diffuse sound, and incorporate acoustic panels for a clearer, more professional call experience.
Are There Budget-Friendly DIY Solutions for Improving Audio Clarity?
Yes, you can improve audio clarity with budget-friendly DIY soundproofing solutions. Start by creating DIY soundproofing panels using inexpensive materials like foam, fabric, or even egg cartons to absorb sound. Additionally, you can make budget acoustic panels by repurposing household items such as blankets or thick curtains hung strategically around your workspace. These simple steps help reduce echo and enhance audio clarity without breaking the bank.
How Do I Identify if My Microphone or Speakers Are Malfunctioning?
Did you know 60% of audio issues stem from faulty microphones or speakers? To identify if yours are malfunctioning, start with microphone testing—check if your device is recognized and settings are correct. For speaker troubleshooting, listen for distortion or no sound. Test with different devices or cables. If problems persist, update drivers or replace hardware. Quick tests like these can save you time and improve your call quality instantly.
Conclusion
By following these simple steps, you’ll turn your home office into a sound haven in no time. Don’t let echoes and poor audio be the thorn in your side—nip it in the bud now. With a little tweaking and some smart choices, your calls will be crystal clear, and you’ll sound professional every time. Remember, a stitch in time saves nine—invest a few minutes today for seamless calls tomorrow.